Here are a few basic knots that will make your camping adventure a little more pleasant. A couple of these are a little more advanced but I strongly recommend taking a little time to master these knots.
Knots are a skill that requires constant practice to remain proficient. So… Practice, practice, and then practice some more. After learning these knots you will realize how useful they are and how they can also benefit you in everyday life.
Before jumping into the knots let’s go over some basic terminology used in the rope world. A basic understanding of rope construction and terminology will be a great benefit to you as you begin to journey to becoming a knot master.
First and foremost, learning basic knots does not mean that you are ready for a crazy rock climbing adventure or any situation that could put your life in danger. Leave that to those that have a wealth of skills, knowledge, and experience. YOU WILL NOT GAIN THAT BY READING THIS POST!!!!
TYPES OF ROPE
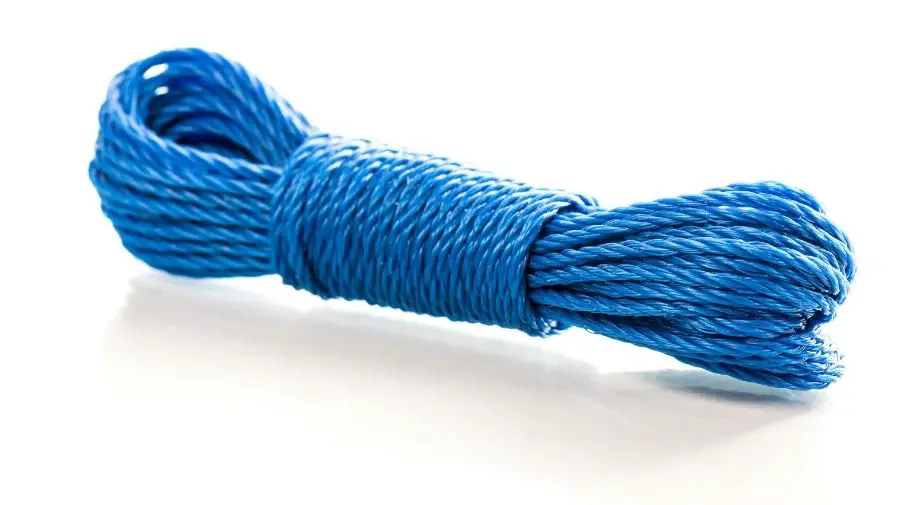
1. Utility Rope
Used for utility applications. NOT LIFE SAFETY!! Utility Rope is used for securing objects in the truck, hanging tarps, tying up gear for easier transport. Basically, any situation that does not involve someone’s life depends on that rope. Generally bought at Big Box stores in the camping or hardware section.
2. Life Safety Rope
Life safety rope will be clearly identified as such when you purchase it. The cost will also reflect that it is of much higher quality. Life safety rope is much more expensive than the hank of rope in the camping section. NEVER TRUST YOUR LIFE ON ANY ROPE THAT IS NOT LIFE SAFETY ROPE!
Parts of a Rope
Working End- The part of the rope that you have tied your knot in and object to.
Tail- The small piece of rope that is the end of the rope. Hangs out of the knot like a little tail.
Standing End– The section of rope that you are not tying a knot in.
Bight or Loop- Formed by bending the rope back on itself or by tying a knot.
Turn- Made when you put your rope around or through an object.
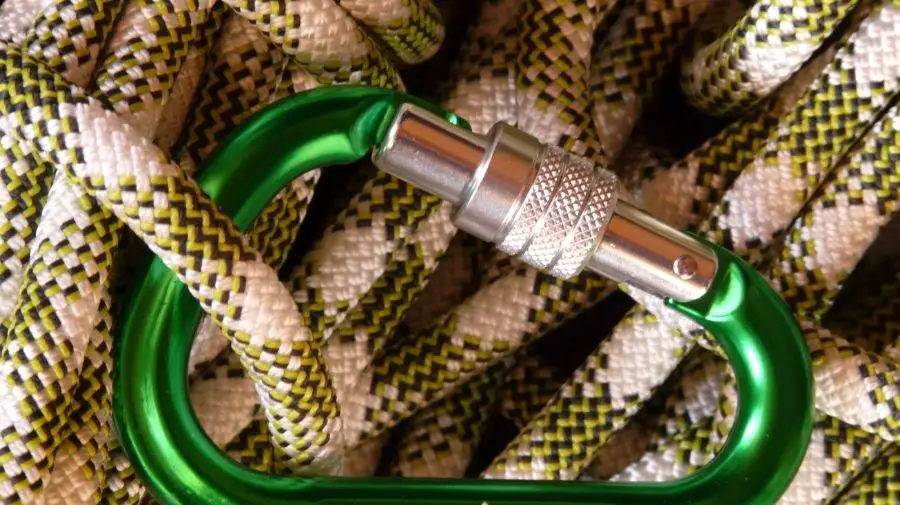
Anchor- Not a part of a rope but is what you have tied your rope off to. Like a tree, bumper, or post. Something that will not move when tension is applied.
Wrap- If you’re trying something off and the rope is slipping up or down on the tree or post. Before tying your knot wrap the working end around the object a few times. A wrap gives you more friction which should stop it from slipping.
Suggested types of utility rope for your outdoor adventures
I personally carry 4mm, 7 strand Paracord. It is really strong and can easily be coiled in a small package and weighs almost nothing. It is also very cheap so you won’t feel bad about cutting it up. You can buy it almost anywhere or by the spool with almost no impact on your budget.
I would suggest taking along no less than 100 feet of cord on your trip. I always have a minimum of 50 feet in my truck and another 100’ plus in the camping gear. Here’s a link to some that I have purchased before.

I buy a bright-colored cord for improved visibility to use while camping. There is nothing worse than walking around the campsite at night and tripping over a rope!
A few hints for managing your bundle of Paracord
- After you cut the cord to your desired length burn or melt the cut ends. This will prevent the cord from fraying and you ending up with several inches that are useless.
- Instead of keeping the cord in a hank you can cut a small piece of cardboard, roughly 4”x8”, and wrap the cord around the cardboard. This will help stop it from becoming a big, frustrating knot.
Overhand Knot

Very basic knot. This knot goes with the old saying, “If you can’t tie a knot, tie a lot”. The overhand knot is also often referred to as a safety knot. A safety knot is added after another knot to give your knot another friction point.
The Overhand Knot is also a very useful “Stopper Knot”. For example, You could tie this at the end of a rope to keep it from slipping through something such as an eyebolt or any other object you’ve passed the rope through. Using it as a Stopper knot is common practice in repelling, climbing, or rescue situations.
Bowline Knot
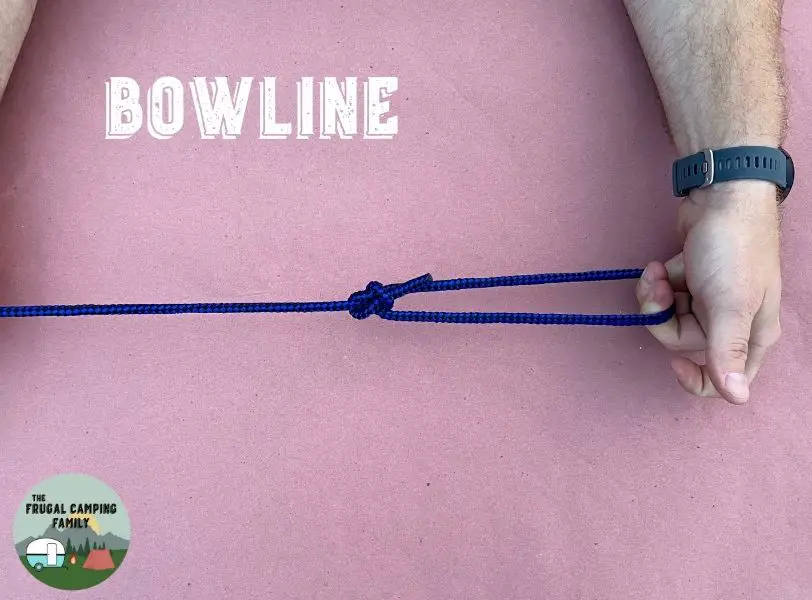
Creates a fixed loop at the end of a rope pro string. Used to tie off or secure objects. This is one of my go-to knots for tying off tarps or hanging objects around trees or posts. Couple this knot with a Truckers Hitch and you can do some things. This knot will not constrict, meaning the loop will not tighten on itself.
Reef Knot or Square Knot
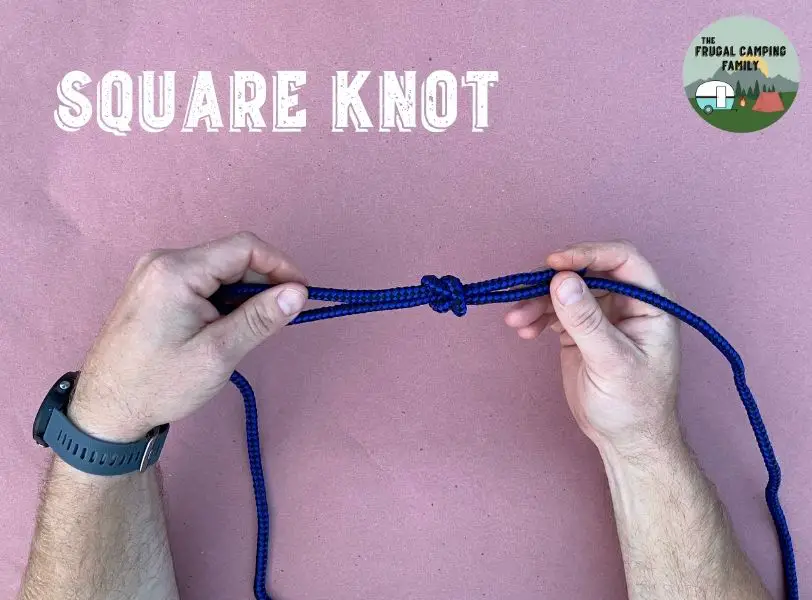
Used to join two pieces of rope together. Great knot to use if your rope ends up being a little too short. You can simply cut a few more feet off of another section or just join them together. If you plan to have tension on this rope I would suggest adding a safety, a basic overhand knot, using the tail on each side.
Truckers Hitch
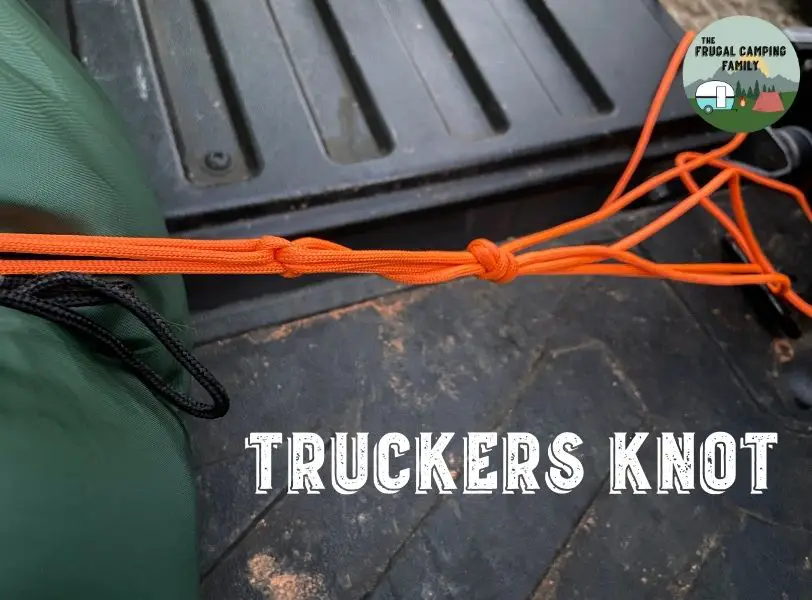
This one will take a little bit of practice, but if you will take the time to master this knot you will use it all the time! I love this knot, it has so many useful applications.
The Truckers Hitch allows you to pull an insane amount of tension in the rope or just the right amount if you want something suspended in a particular spot. It is great for securing items in the back of the truck, making a bundle of firewood, securing the rain fly in a manner to shed water, or hanging a tarp at the campsite.
Mastering this knot will allow you to throw away those annoying ratchet straps that are always tangled up.
The Trucker Hitch is tied in a certain spot in the rope. So after running your rope around whatever object, forming the turn, will be your anchor you then bring the rope back towards the object or load that you wish to tie off.
The Truckers Hitch will then be tied in the rope at whatever distance you prefer from your anchor. You will then feed your rope through the loop and pull tension back toward your anchor. Just make sure where ever you decide to tie in the hitch that you leave yourself plenty of working room.
After pulling the desired amount of tension you then use a half hitch and overhand knot to secure the load.
Figure Eight on a Bight
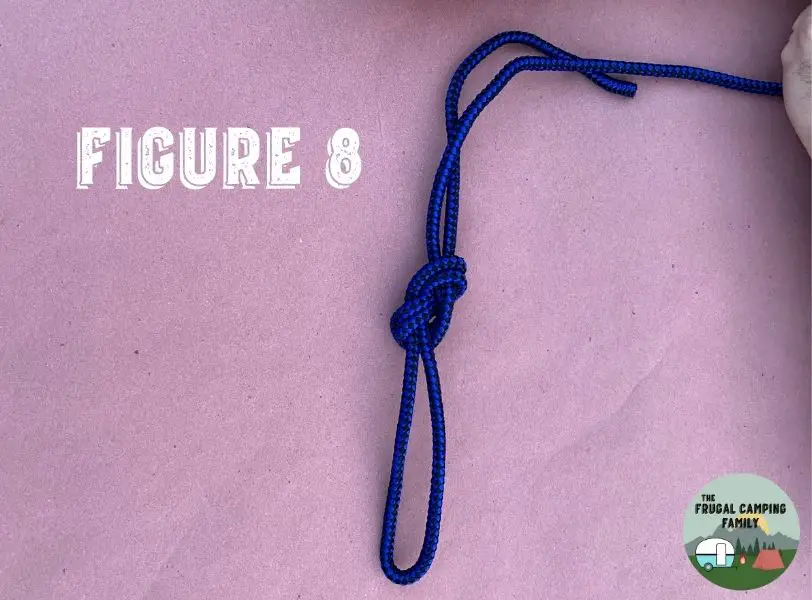
This knot is also a little more advanced and will take some practice to master. It is a safer and more secure knot to hang things from. The Figure Eight on a Bight is considered a life safety knot. Meaning it is approved for repelling and rescue.
Just to be clear, just because you learn this knot does not mean that you are ready to use it in any application that could put your or someones else’s life in danger! This knot is great for hanging gear from trees and having a solid knot at the anchor point.
If you have any questions about rope or knots for camping, leave a comment below or email us at frugalcampingfamily(at)gmail.com. If you are new to tent camping, we have a beginner’s guide you can see here. We also have a guide to popup camping if you are thinking of upgrading but don’t want to spend a ton of money on a camper.