We love to hike trails. Since we bought our popup camper, we have taken so many trips just to hike certain trails. One of the most popular trails around here is the Appalachian Trail. We have hiked several sections on day hikes but wanted to do some overnight hikes.
We aren’t full time hikers, nor do we have the money for fancy gear. I know a lot of experts will tell you that you have to have certain brands in order to overnight hike, and while I agree with them to an extent (some gear is worth the money), we aren’t taking off for weeks at a time to face all sorts of elements so we are just fine with our budget gear.
Since we are just hobby hikers looking to have some fantastic experiences outdoors without breaking the bank, I wanted to share our budget backpacking gear list with you so that you can be a hobby hiker too!
Tent and Footprint
We chose to stick with a brand name tent for our overnight backpacking trips. The main reason why we made this decision is because we had to consider weight. We went with Kelty’s Late Start 4. This tent only weighs 6.14 lbs. It also sleeps 4. I would say that it sleeps 3 plus your gear.
We were able to do this when we took our oldest hiking. It was defiantly doable for an overnight hike on the AT.
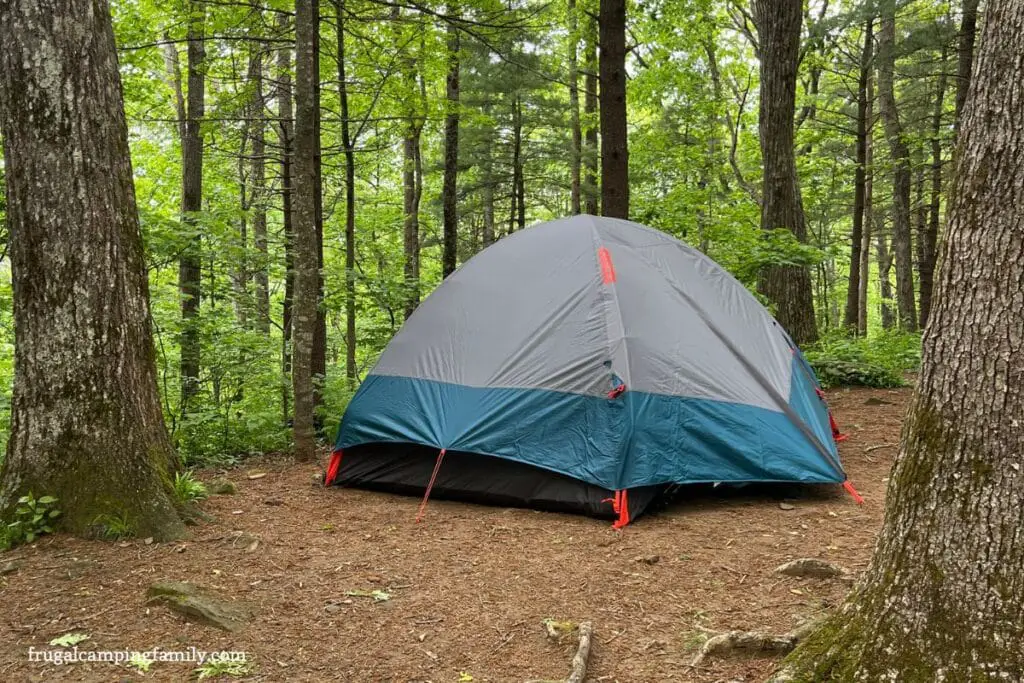
We found out the hard way that you need a tent footprint. It really doesn’t matter if you have the actual footprint, a tarp, or a piece of Tyvex house wrap…but you need something under your tarp. When you are outdoors, you want to keep the sticks, rocks, and roots from being able to rub a hole in your tent. (Ask me how I know…)
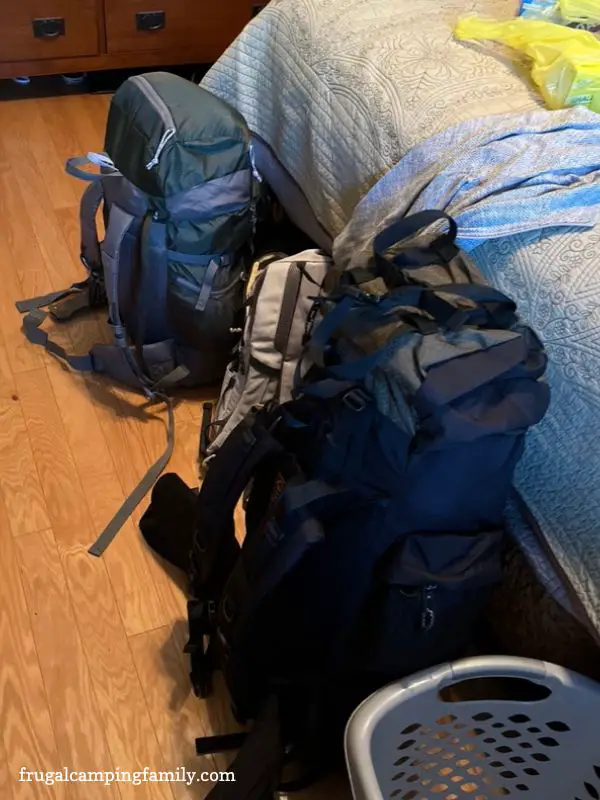
Backpack
I found a backpack at Walmart, and I only spent $38. It is a 47 liter pack that can hold a 2 or 3 liter hydration reservoir. The pack itself only weighs 2.14 lbs.
My husband found his pack on Amazon. It’s a Teton Sports Explorer. His bag holds 65 liters and weighs 5 lbs. He can hold up to a 3 liter water reservoir.
We are able to get everything we need for our overnight hikes into these two bags. We bought my oldest the same bag I have when he hikes with us.
AirPad
This one can be a bit tricky. Picking out an air pad is going to be based on personal preference. We went with this inflatable air pad. It is 5 inches thick and inflates with a built-in pump. If you order one of these air pads, I would recommend testing it out before you hike.
My husband’s air pad lost air and wasn’t very comfy. Mine was the exact same thing but stayed inflated all night.
Some people prefer a foam pad but I’m a side sleeper and it’s just not comfortable to me. I need something more like an air mattress.
You could also try sleeping in a hammock. I don’t think I could handle that since I’m a side sleeper, but I do take my hammock with me to sit in while we are at the campsite.
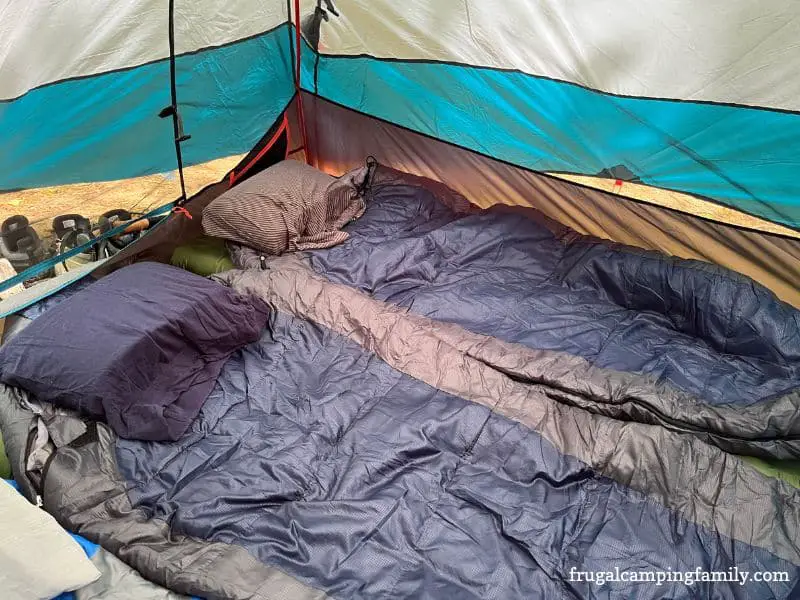
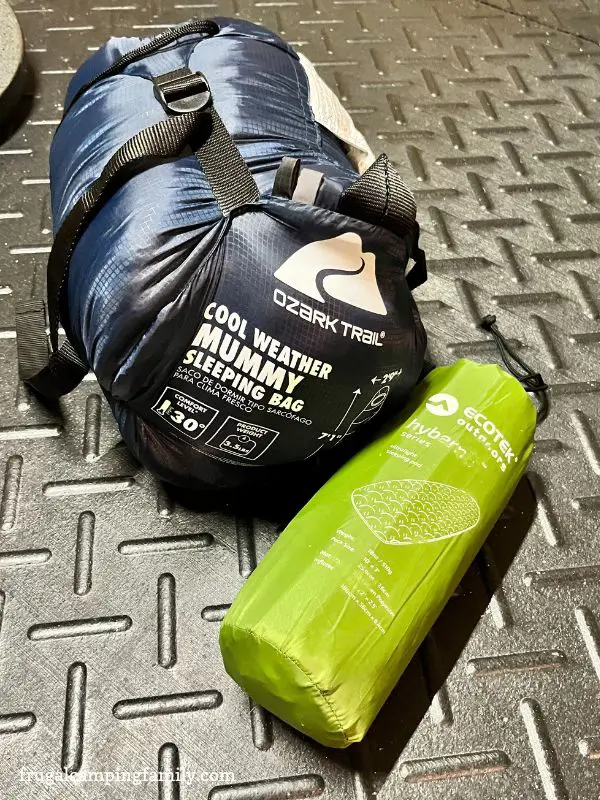
Sleeping Bag
I got both of our sleeping bags at Walmart (see the picture above). I bought the Ozark Trail 35 degree cool weather bag. It weighs 4.7 lbs. It’s not the lightest bag, but for the price…it works. I plan on upgrading our bags later on, but for right now, I have no plans to.
We chose this bag because we only hike in the fall and spring. There was no reason to buy an expensive bag when the temperatures in Georgia don’t get very cold at night at those times of the year.
You will have to decide for yourself depending on where and when you want to hike. I use these sleeping bags inside our camper, too so they have multipurpose. If I ever upgrade, I will leave them in the camper for good.
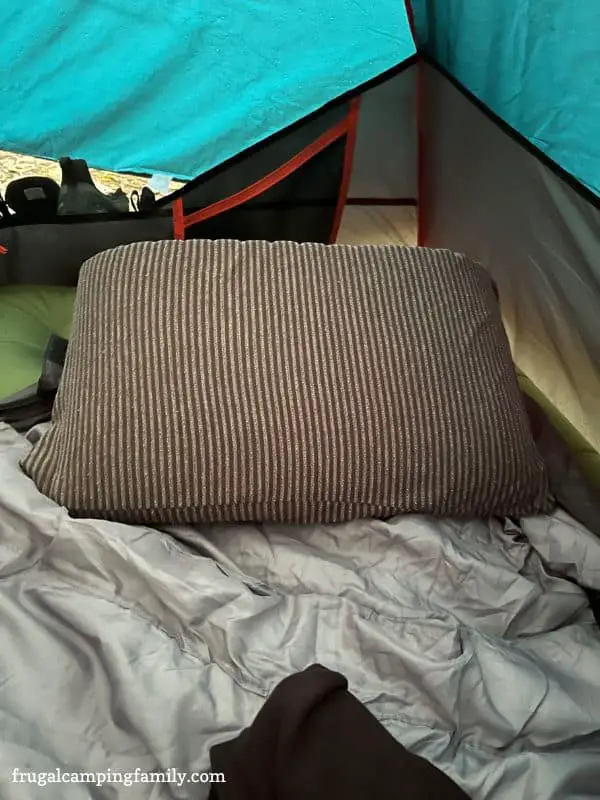
Pillow
We made our own DIY hiking pillows, but you can purchase one online. The main thing you need to consider is size and weight. You don’t want your pillow taking up all the room in your pack, nor do you want to carry a heavy pillow down the trail.
Some people use inflatable hiking pillows, but I have never personally tried one. I do, however, love my Diy memory foam hiking pillow, and it slept so well.
Boots or Hiking Shoes
We love the Salomon brand hiking boots, and they are worth the splurge. My husband and I both have the Gortex Ultras. I prefer a high top boot with gortex waterproofing so I don’t have to worry about the rain or crossing any water but you can get a low top hiking shoe if that’s what you prefer.
I defiantly do recommend getting a hiking shoe to handle the potentially treacherous terrain. I didn’t think it was necessary until I went on the AT.
Burner, Fuel & Food
If you plan on hiking overnight, you will need to eat. We usually bring the freeze dried meals. I plan on trying some healthier options the next time we hike (and I plan on sharing them in a blog post). In order to cook your freeze dried meals you need a burner, fuel, and water.
You could take noodles, dehydrated meat and pretty much any kind of snack you like.
* Before you hike, check with the trail or local area to see if you need a bear can or bear bag to hike. You want to keep food away from your campsite at all times.
The last time we hiked there was a bear box on the campsite. We had our food in a dry bag and then we put the bag in the designated bear box.
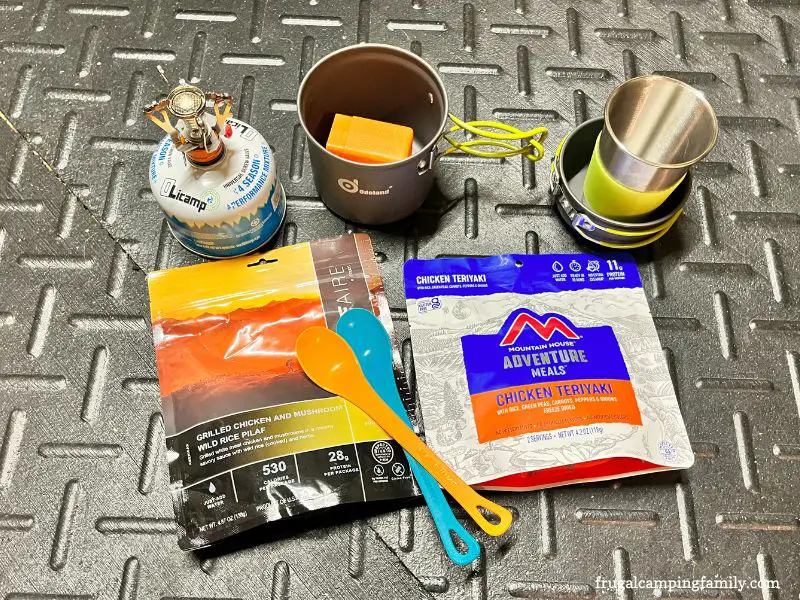
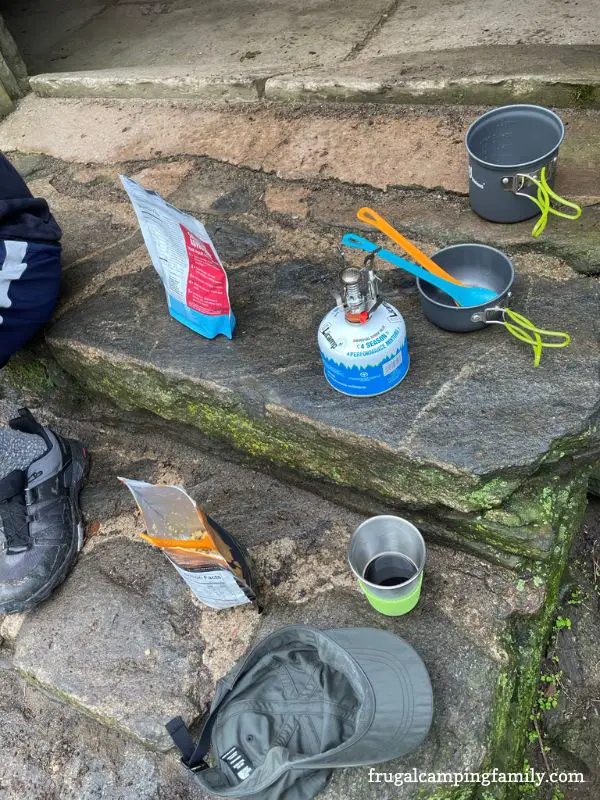
Spoons
Well, if you are making a meal on the trail you will need something to eat it with. We have 3 hiking spoons from Sea to Summit.
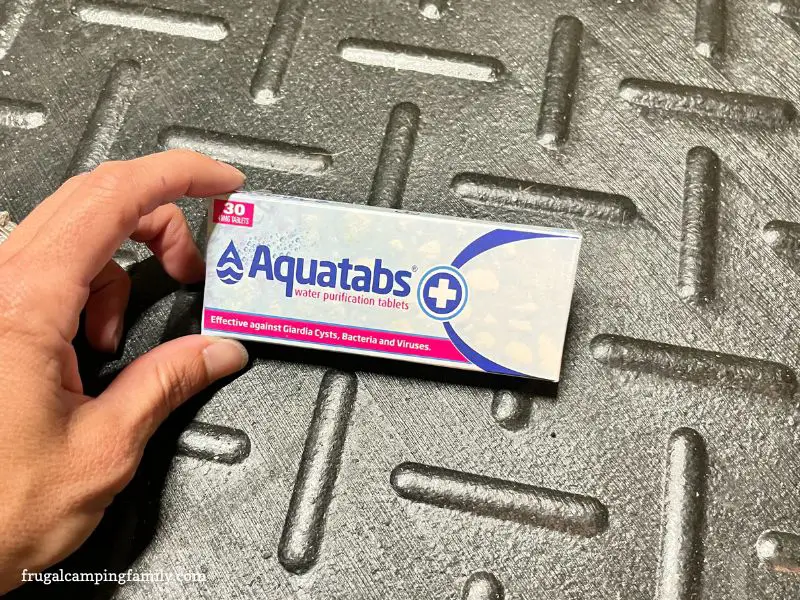
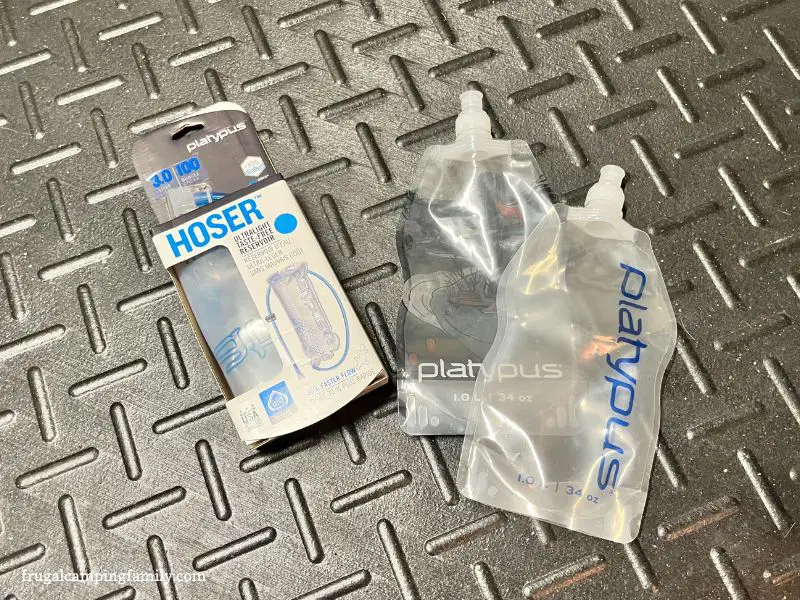
Water
We like to bring our own water when we hike, but you can check the trails before you go for water sources along the way. If you decide to use a water source, you might want to consider water purification tablets.
If you pack in your own water, you will want to make sure you bring enough to drink and to cook with. We brought 4.5 liters of water each to hike an 11 mile overnight section of the Appalachian Trail (we did the blood mountain section, which is the highest in elevation for Georgia).
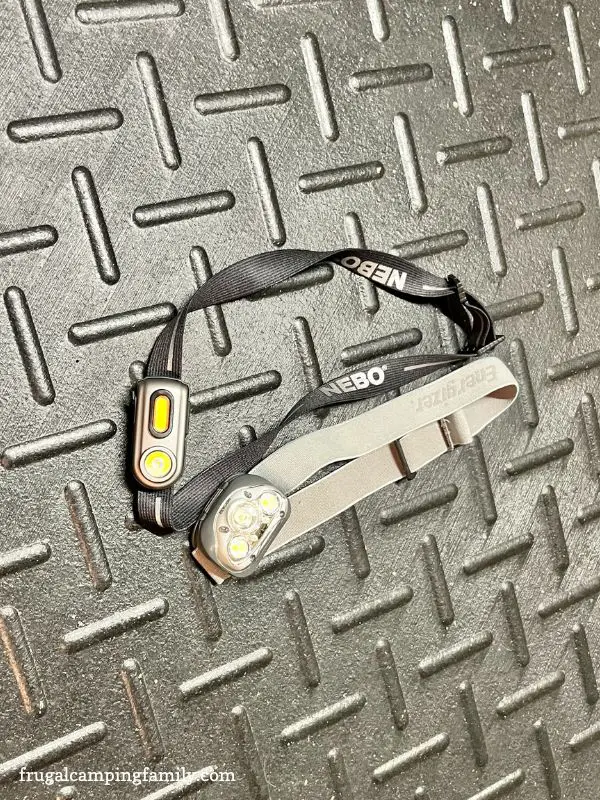
Headlamp
It gets dark on the trail, like really dark. We always make sure we have some headlamps so we can see at night. We bought the kind that can be recharged, but you can add regular batteries to them as well. They aren’t just good for backpacking, but for regular camping as well. The kids love to run around with them at night. (especially night fishing)
Rain Jacket and Rain Cover
You never know when mother nature is going to decide she needs to drop some wet stuff on her trail so being prepared and having a rain jacket is key. Another necessary thing to keep in your backpack is a rain fly.
The last trip we made we had to use ours. It started out as a light rain and then it dripped off the trees. Keeping the rain fly over your bag while you hike will keep all of your gear dry. When we were at the campsite, we put the rain fly over our shoes to keep them dry under the outside of the tent.

Trowel
Everybody has to poop on the trail, and there isn’t always a privey so you are going to need a trowel to bury your stuff.

I hope this budget backpacking gear list helps you on your next hiking trip. We hope you spend some weekends on the trails with your family without breaking the bank. If this post helps you in anyway or you have any deals to add, please feel free to comment below.
You can also see our post on tent camping if you are new to being outdoors and want to get started with your family.