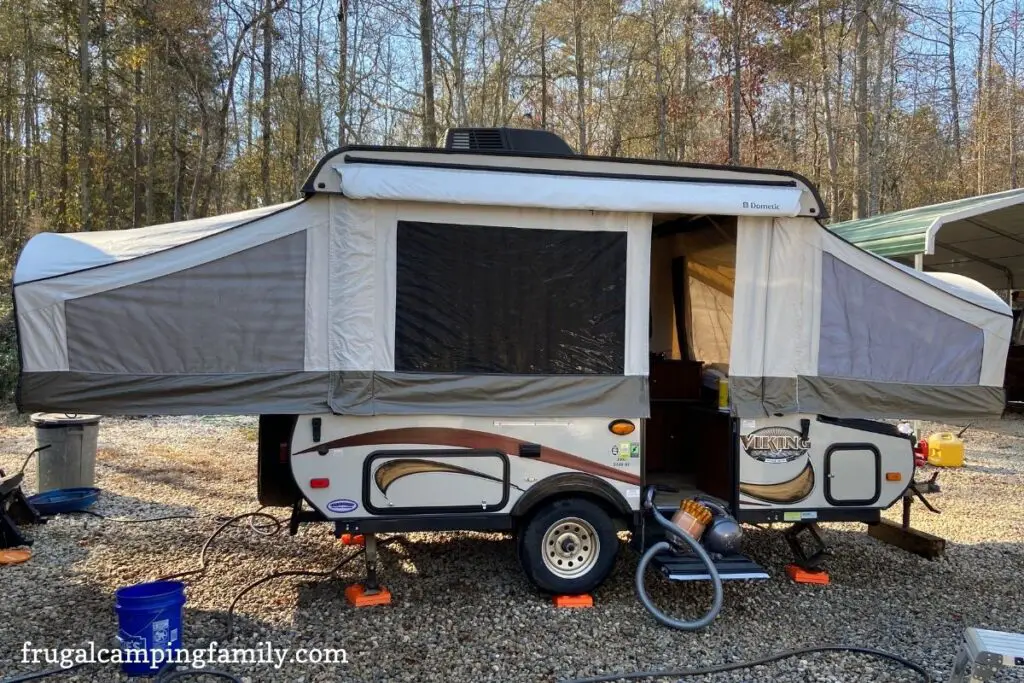
We purchased our 2014 Viking in November and knew right away, that we had big plans for it. The best part about the camper was paying cash and it being ours! This gives us the opportunity to do whatever we want to it. We had lots of ideas but didn’t know what we would discover and how it would all turn out. I have turned it into two separate posts so I can tell you all about it.
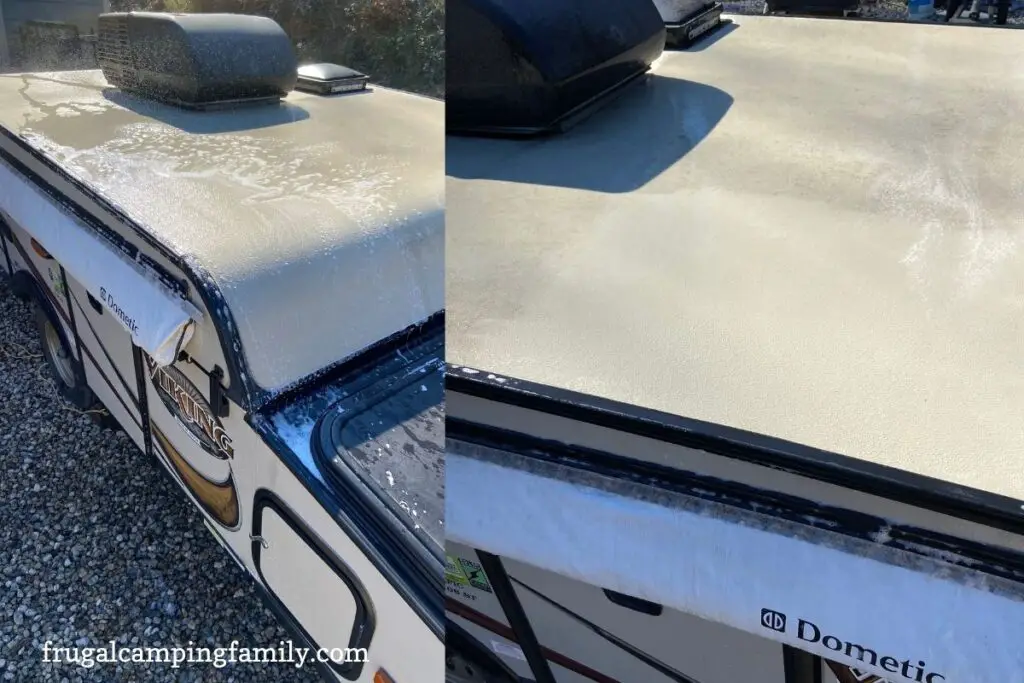
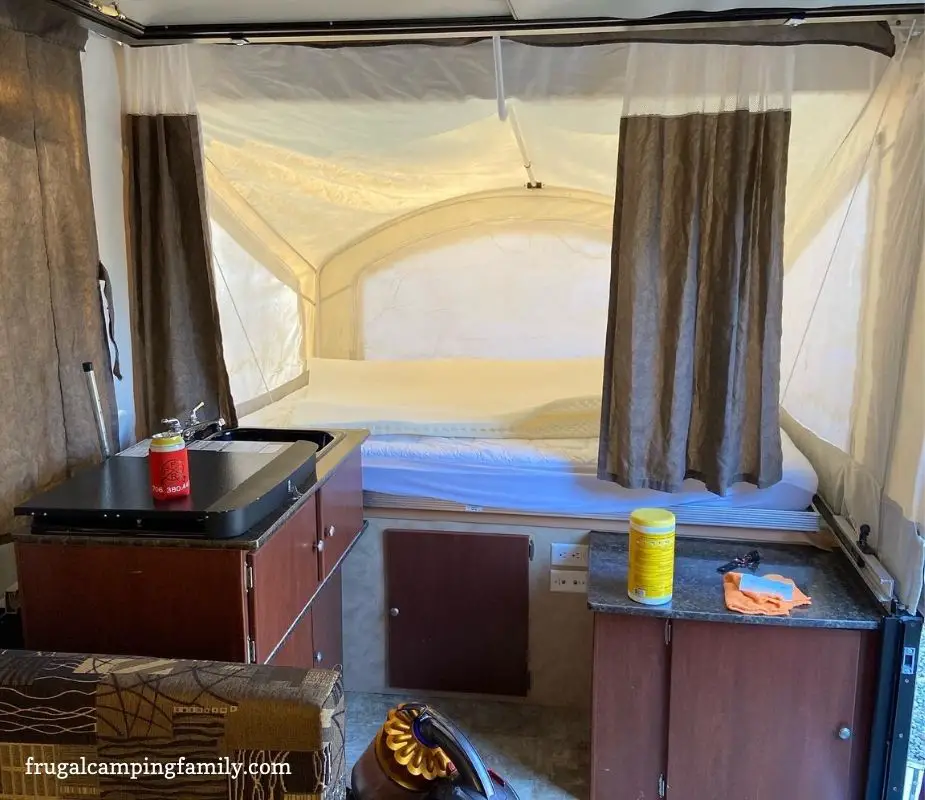
The very first thing we did was get her home and start cleaning it up. We washed the outside with dawn dish soap, boy did it do wonders. After we got the outside clean, I went to town on the inside. I vacuumed and wiped everything down with Clorox wipes. I decided to buy new memory foam for the queen size beds so I took the egg crate that was already in it and cut it down to fit on the sofa bed.
I knew I wasn’t a fan of the brown interior so we decided we were going to recover the cushions and replace the curtains. I went ahead and took them out as well as taking down the curtains so I could use them as a template for the new ones.
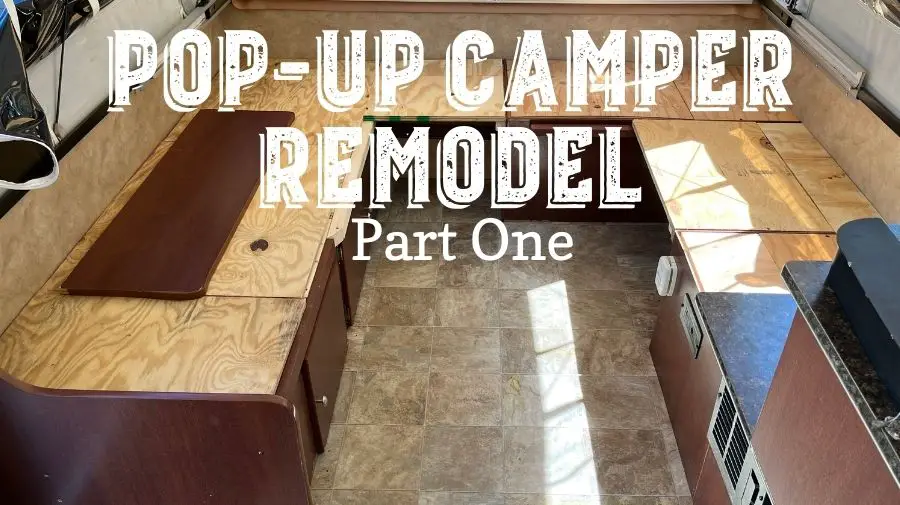
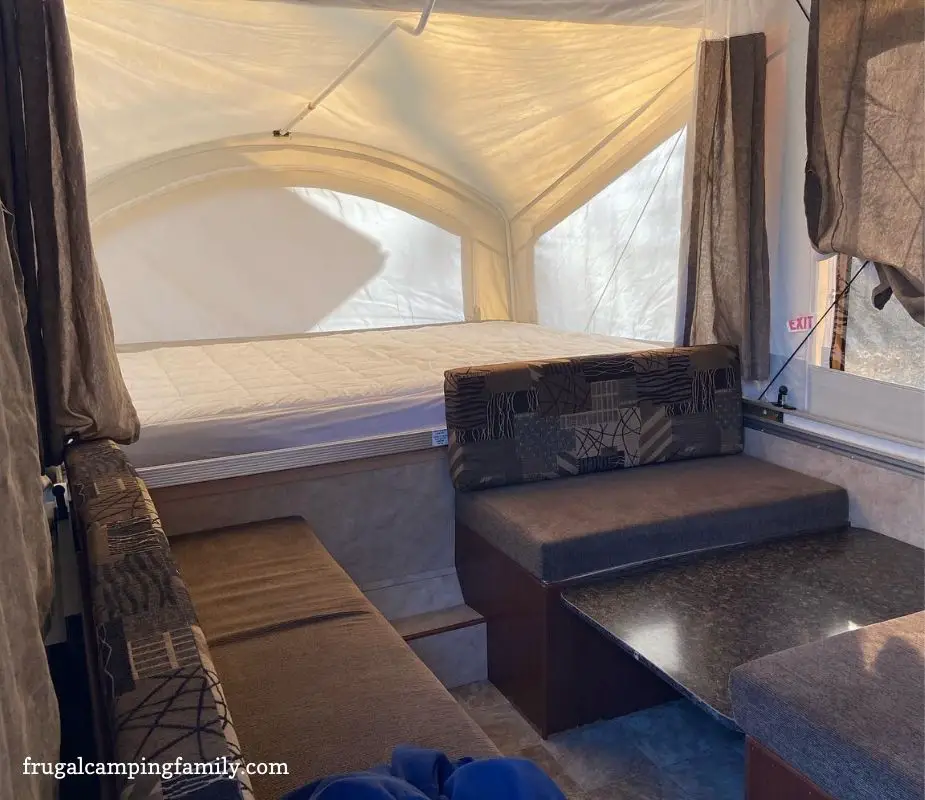
This is what the inside looked like after we cleaned it. We decided to take out the table and make a wrap-around sofa. This was the first official project and we jumped right into it. Meanwhile, we ordered new tires which ended up costing around $275. We didn’t think that was too bad considering we went ahead and got 3 tires total (to replace the spare, too).
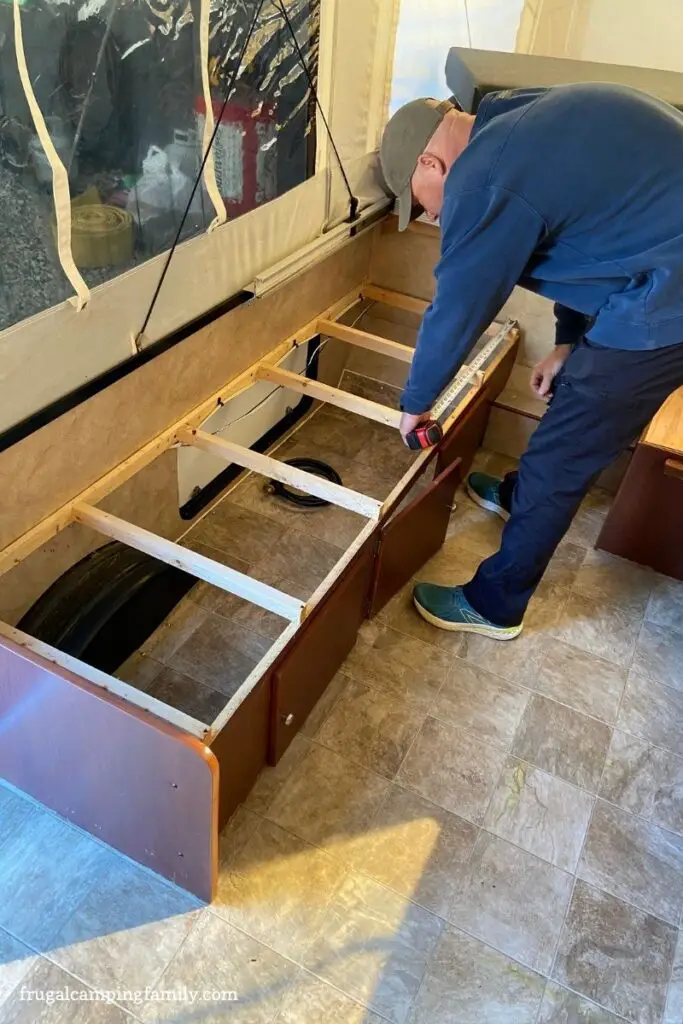
When Mike started on the sofa remodel, we measured and took out the necessary pieces to make it all work. I drew everything out because I was going to have to reconfigure the cushions for this new layout. In the old layout, the table turned into a bed and the sofa slid out into another bed, but we only needed to make one place for sleeping. We have to keep my two kids separated when they’re in the bed or nobody gets to sleep! lol!!
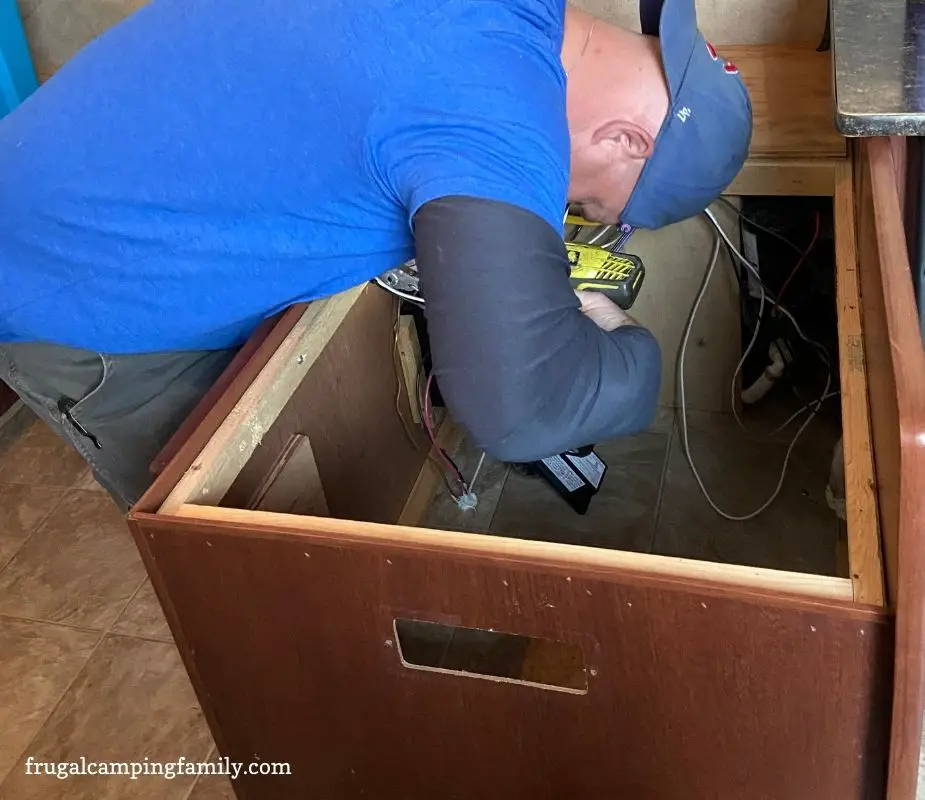
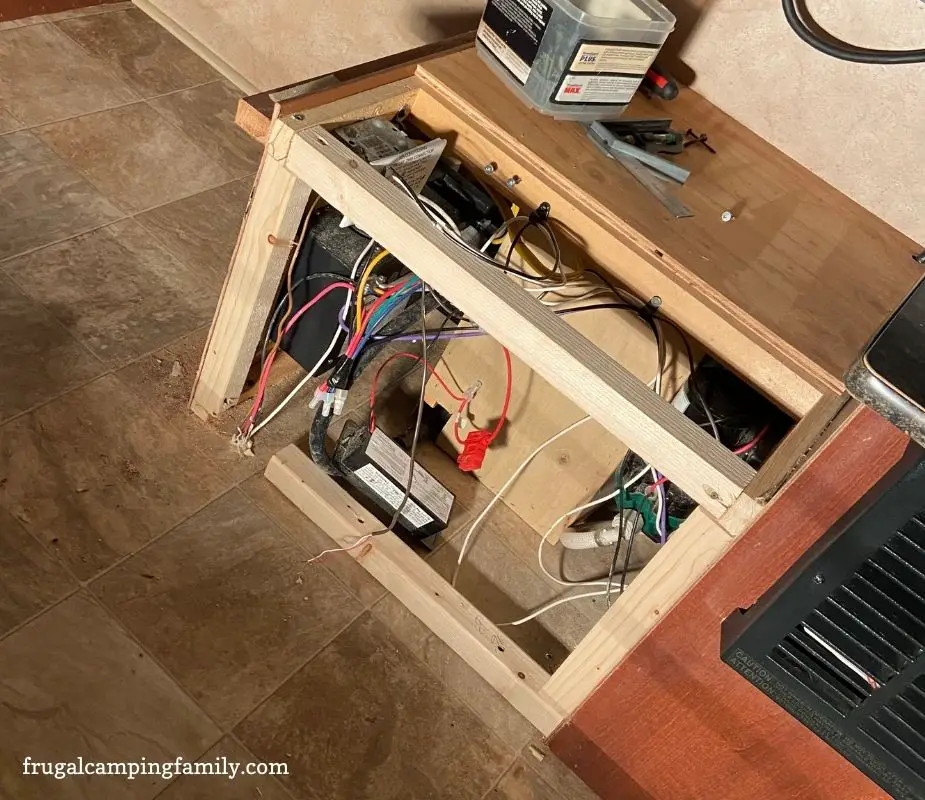
The table seat stuck out a little over a foot too far so we cut that side down to make it flush with the rest (see the pictures above). Mike took 2 x 2 and framed it back in. We used the panel that we took off and put it back. Next, he had to connect the piece that was the step up into the bunk. He connected it to the existing sofa so that when it’s all finished, it would make a big U shape.
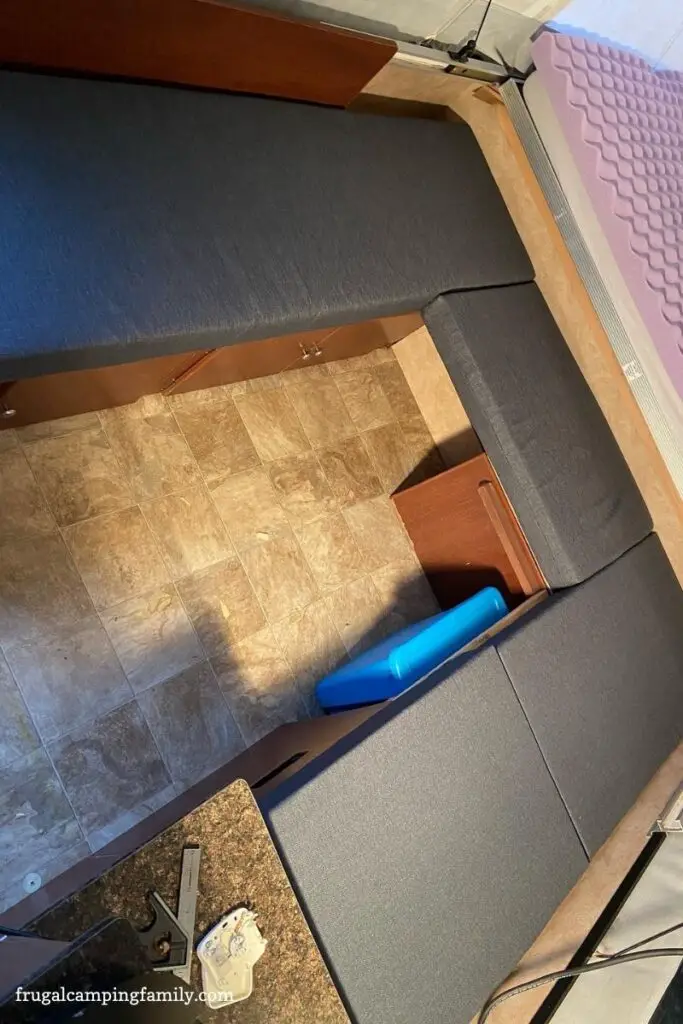
Side Note: I will say, I am so happy we opened it up and made the sofa different. When we eat inside, we put the table in the middle and everyone gets some space. It also makes it so much more open when the table is put up during the day. I also love it when the table is down and the cushions are on it, we can chill and actually get comfortable on the sofa instead of how it used to be.
We decided to keep the table but we re-did it with cedar planks. Instead of it laying down against the wall between the bench seats, we decided to have it lay between the two sides of the sofa, which fills in the U so my oldest can sleep there. I had to make an extra few cushions but since I was already getting new fabric, I just purchased two foam pieces from Joanns to make them from.
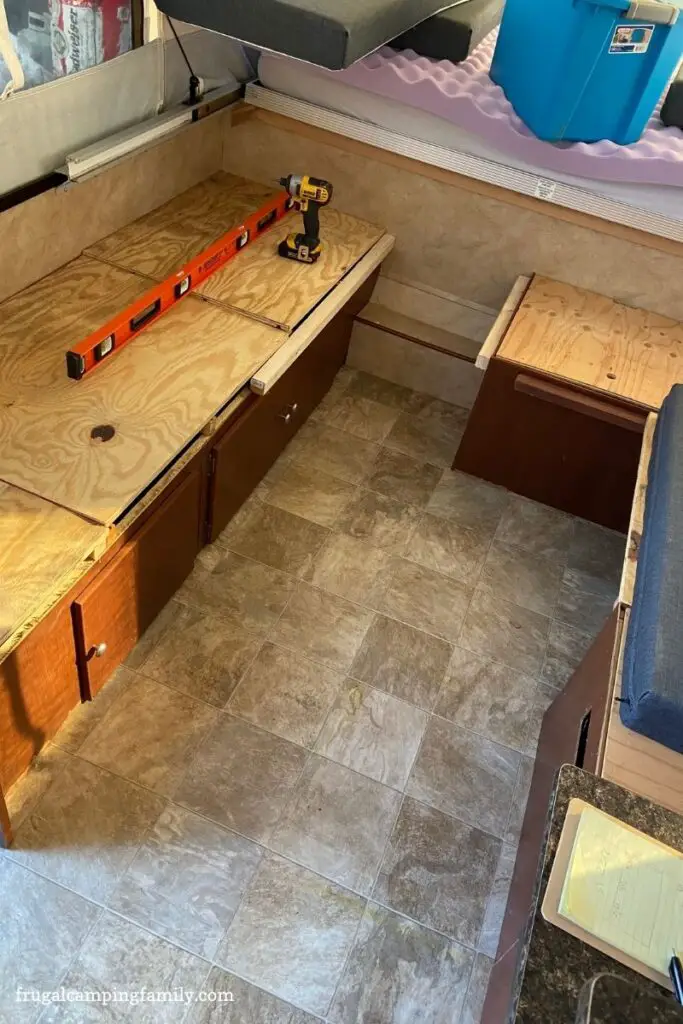
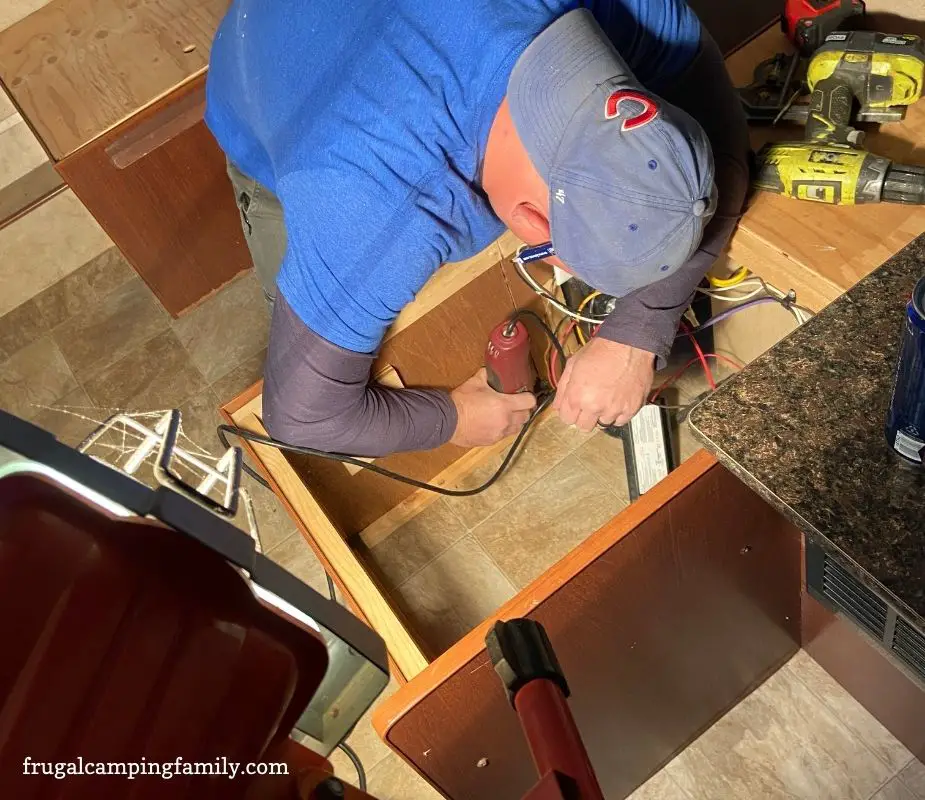
You can see in the picture above where we used a 2×2 to on each side to both catch the table and the wooden piece for the sofa cushion to sit on. He had to get creative on the right side, so he made a place for the 2×2 to slide out when you lay the table down for sleeping.
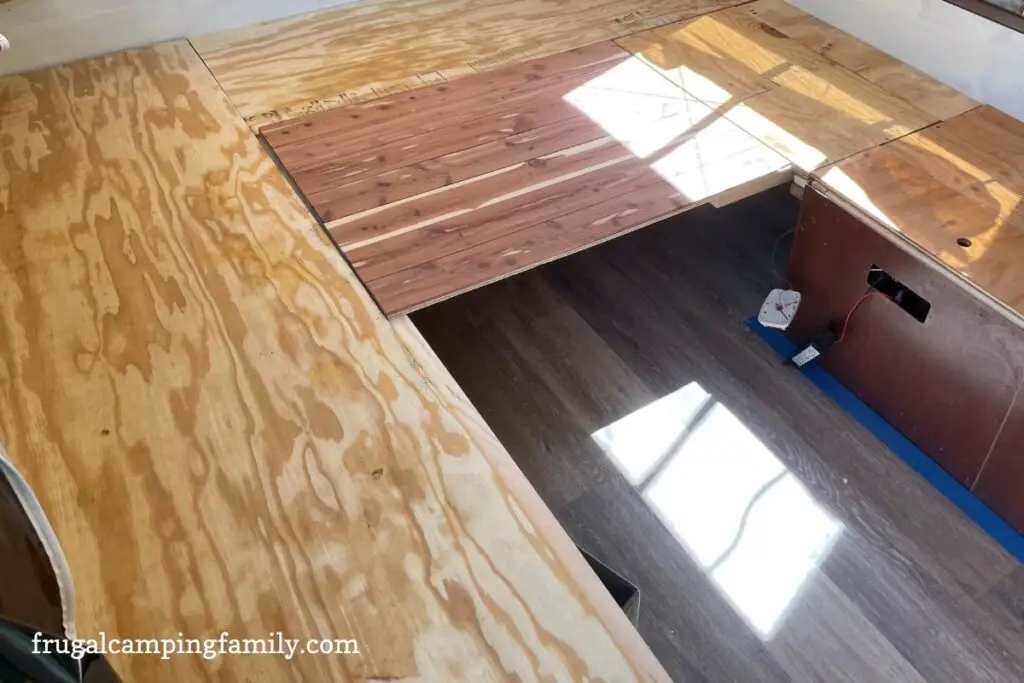
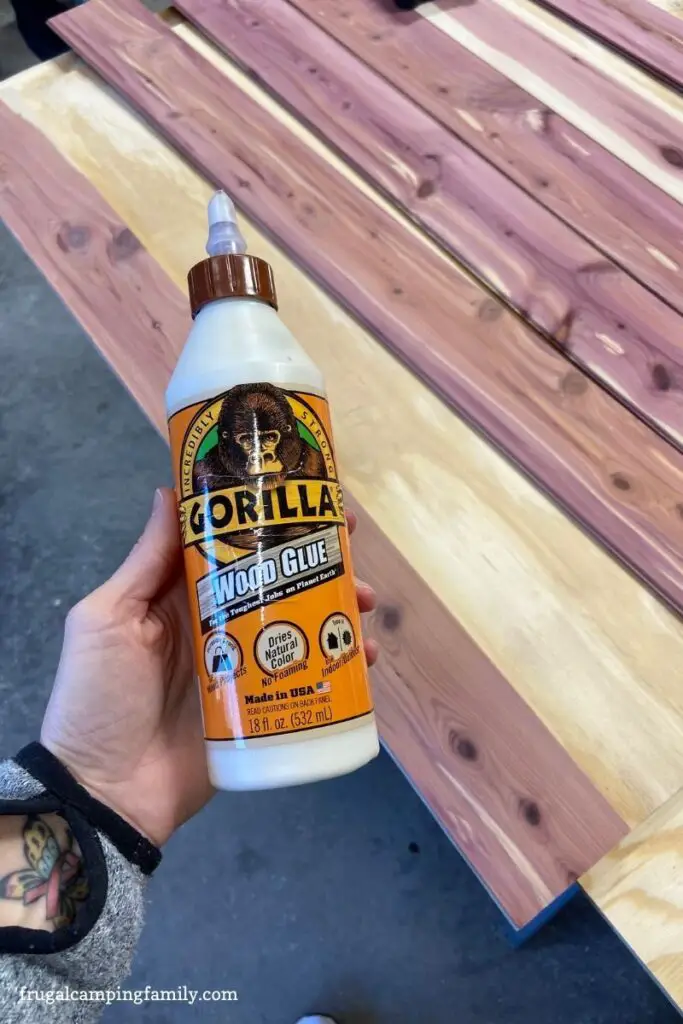
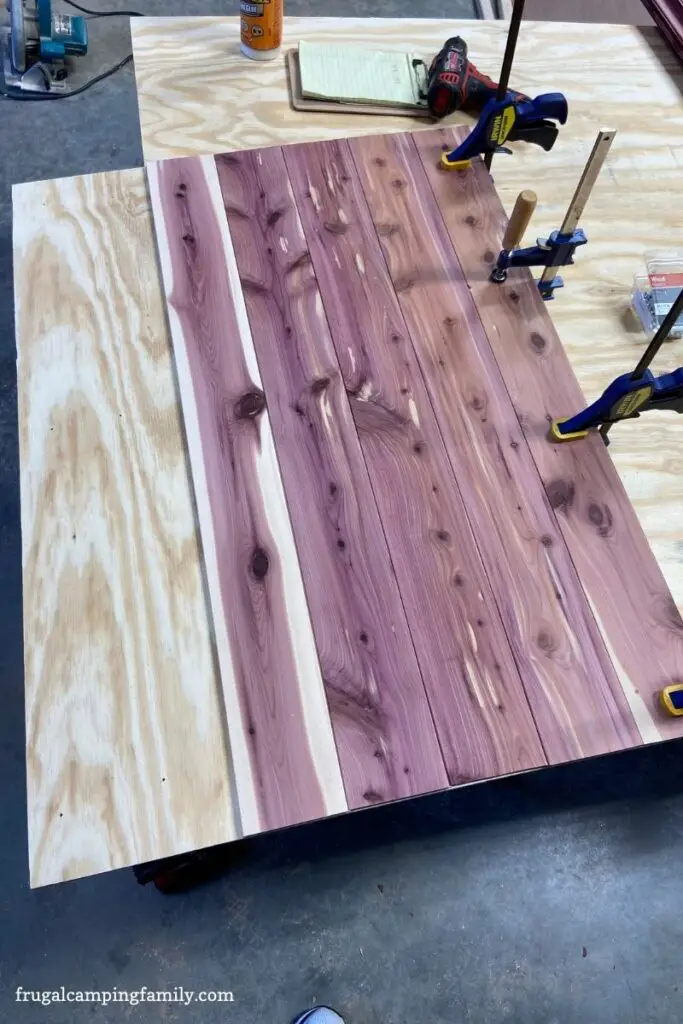
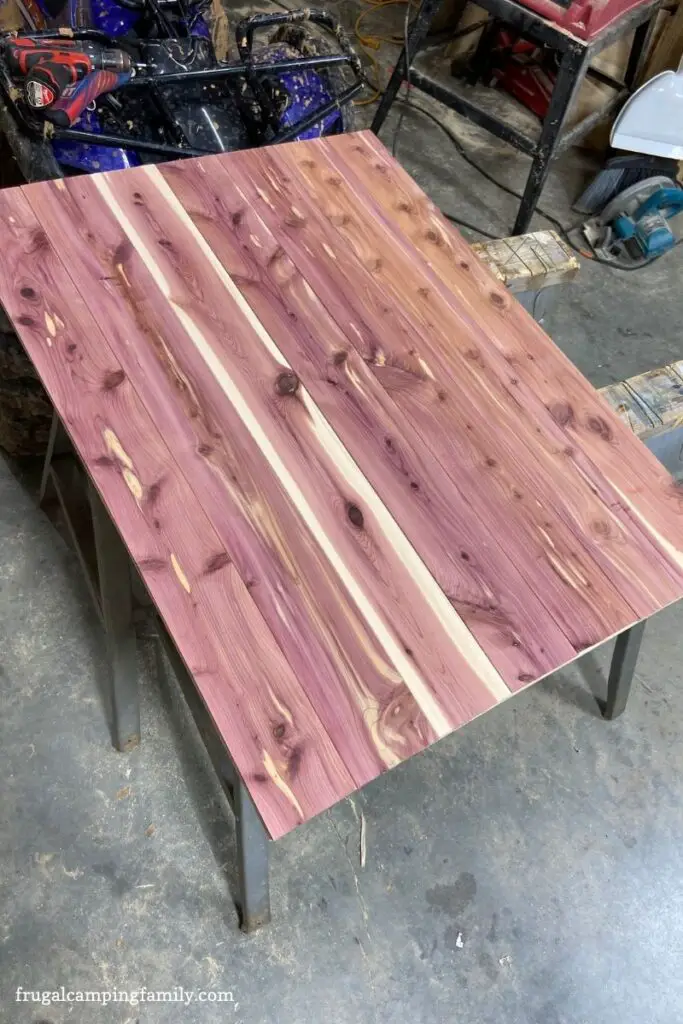
Next, we decided to make our table. We took the legs off of the old one to reuse, then we measure the space we needed to fill between the cushions since it was different from the old one. Mike cut out a piece of plywood to use as a base and we laid out the pieces of cedar we wanted to glue for the top. We used wood glue and placed screws from the bottom so it would grab the wood without coming through the top. The cedar we used is actually closet planks so it has a tongue and groove to help piece them together, but we still had to glue it and screw it for stability.
After we finished the table, we took it on two camping trips knowing I was going to paint. We wanted to wait until it was warmer and we had more time for painting since I decided to use an oil-based for the walls and cabinets. Little did we know, the painting project would be what started our “open concept” remodel. In the next post which I will link to, I will explain how this small disaster took place and what we did to make it beautiful in the end. You can see that post here.