If you read my last post I mentioned this being an open concept remodel of our pop-up camper. In this post, I’ll explain exactly why we call our reno an open concept and exactly what led to us making this decision.
It all started when I decided to paint the walls and cabinets one weekend. Now let me start by saying that we knew there was a soft spot in the floor when we bought it but we really didn’t think it was a huge deal. Well, it kind of was.
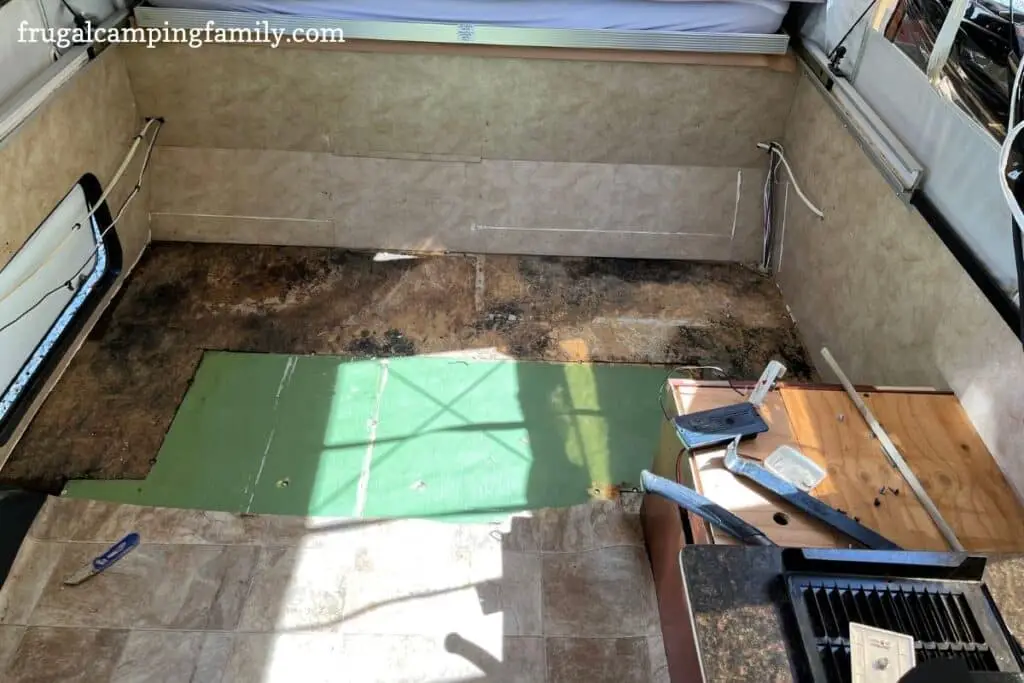
After I painted, we planned on replacing the floors so the story starts when I told Mike to “go ahead and cut back the linoleum floor before I paint, since you know we are replacing it”. “Let’s see how bad it is.”
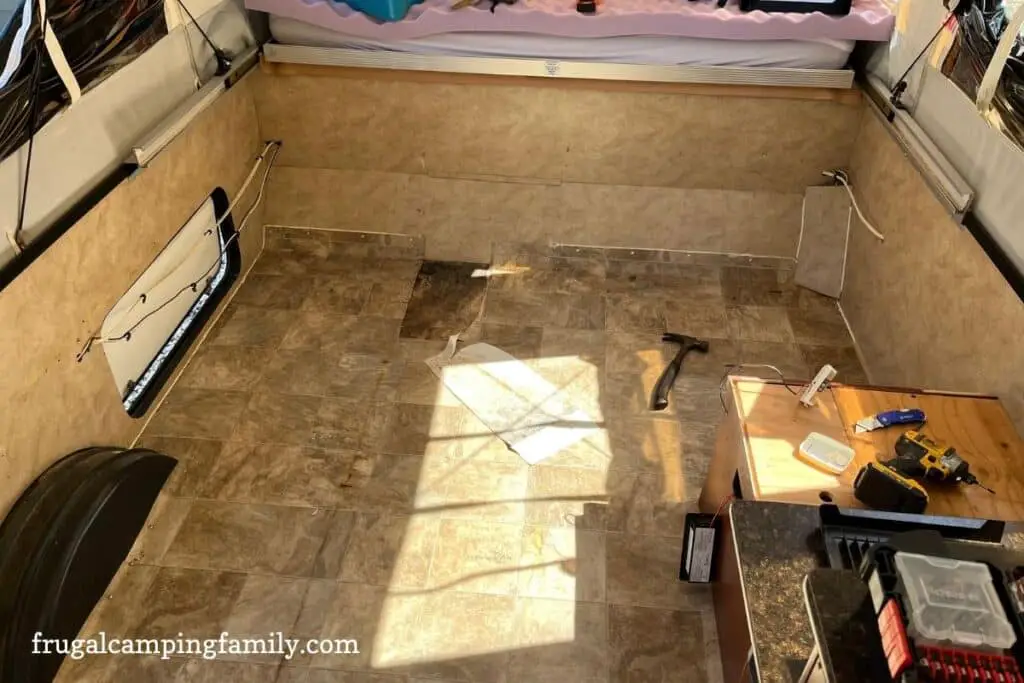
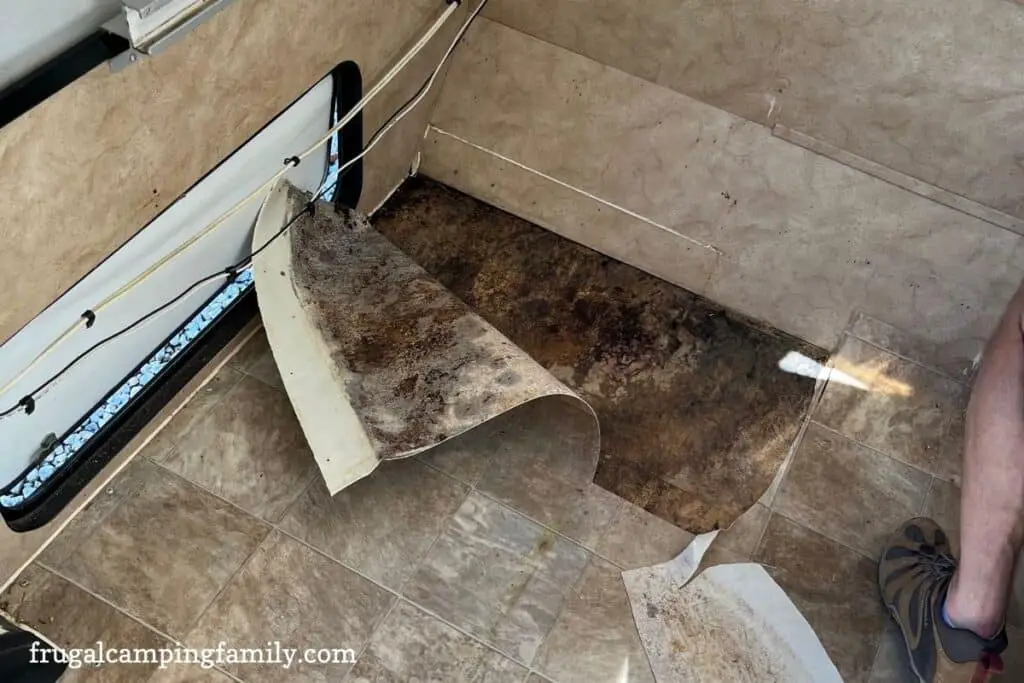
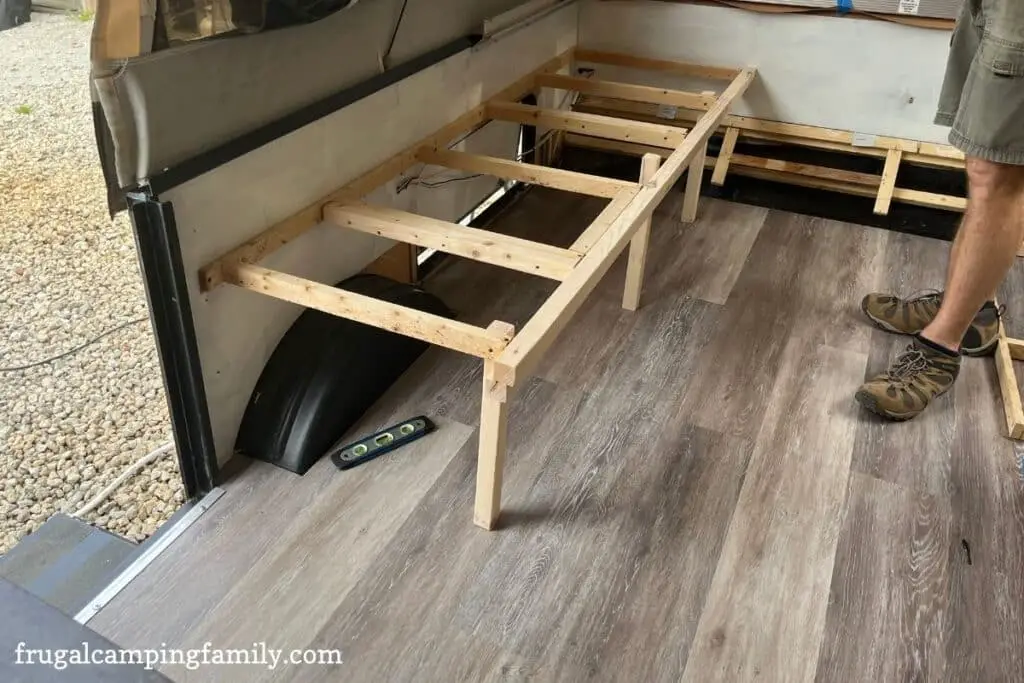
So, let me say in the picture above, that the couch frame was still in when we cut the floor. It was when we found the rot and it was still wet that we decided to change everything. First, we had to pull it all back and see how bad it was. Then, we figured out where it was coming from and after we recaulk the outside, it will be fixed. We were planning on recaulking anyway, but this is going to speed up the process, lol.

Since we had to rip all of this out and replace it, I had the bright idea of making the entire couch open concept. This is the part I have been talking about! I thought, since we have to tear it out anyway, we might as well put it back with no cabinets under the couch.
When we camp, the cabinets are a pain in the butt so I thought having it all open would make storage so much better. Mike thought this was a great idea too so that’s what we are going with.
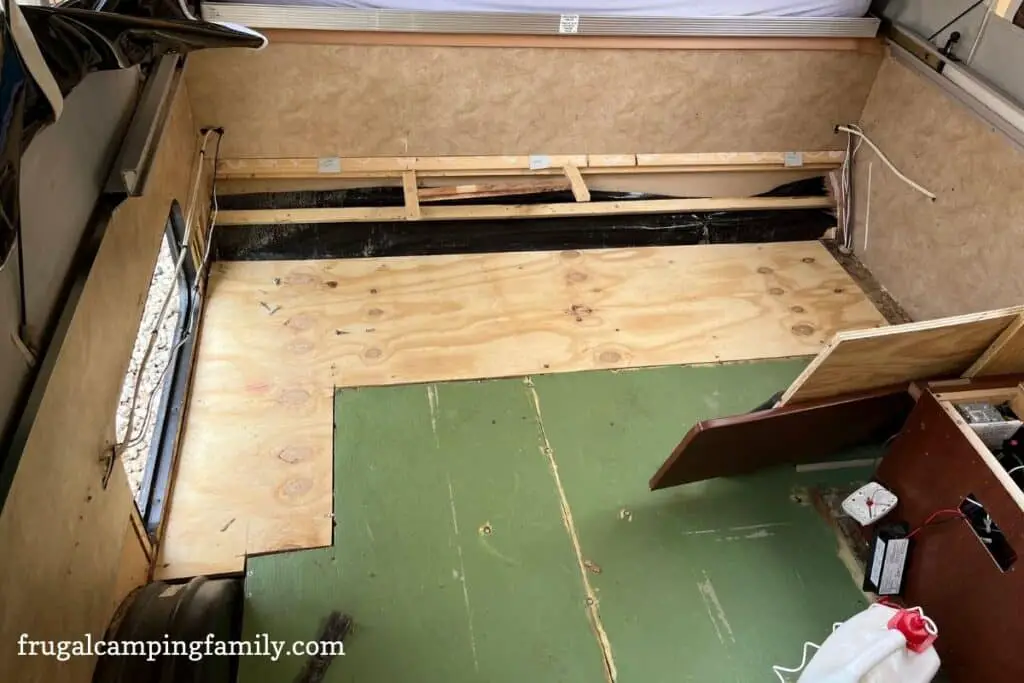
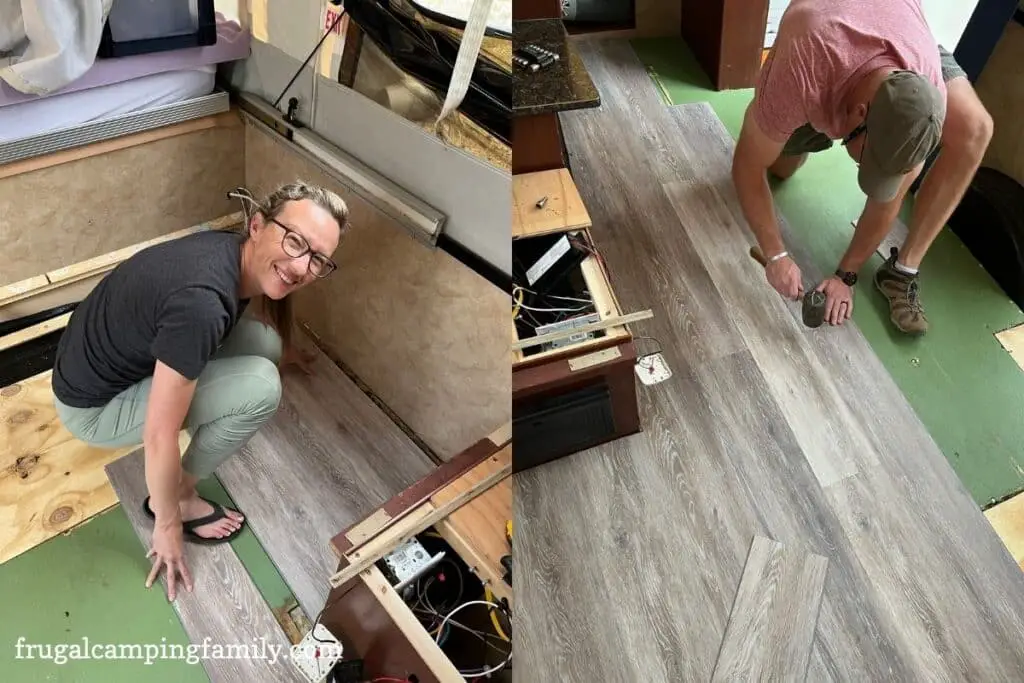
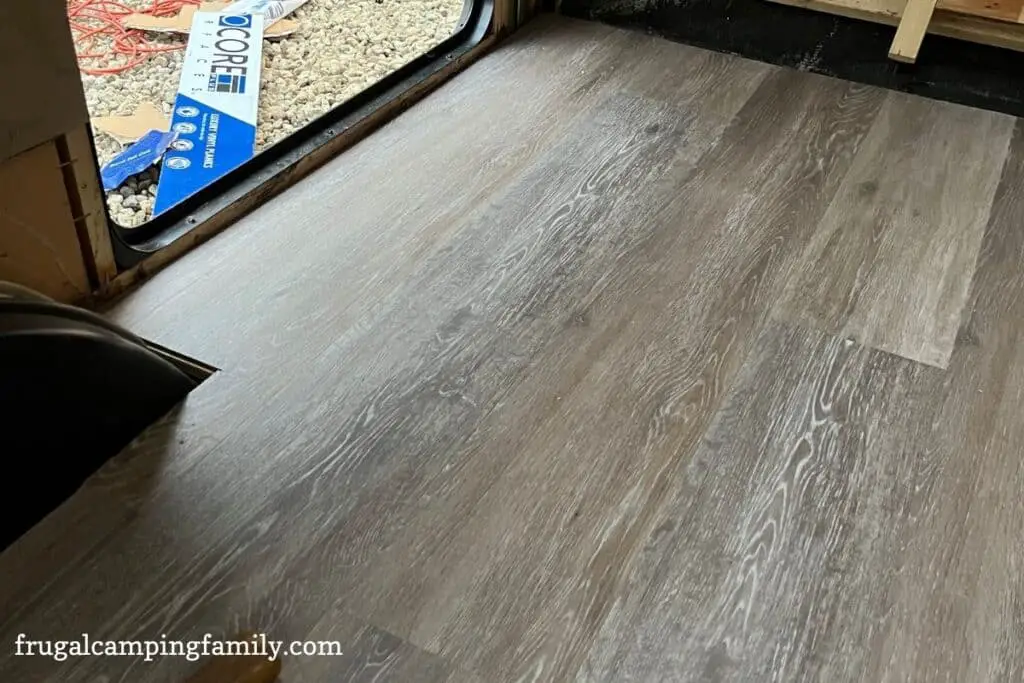
After we got the new subfloor down, I went shopping for new floors. I went with a luxury vinyl plank from Lowes called ProCore. It has a really nice thick padding already attached, and it’s both waterproof and scratch-resistant. I spent about $200 on the floor, and I am very happy with how it turned out.
Next step…paint. Ugh, who decided to repaint anyway…oh wait…me! LOL! I chose an oil-based paint from Lowes to help it stick to the walls and cabinets better. I’m glad I did, but man is oil-based paint a pain to work with? I was ready to quit several times!!
I had to put 2 coats on the walls and in some places on the cabinets I had to put 3 coats. Good thing it’s a small space to work in, or it would have really sucked. The hardest part about painting was the fact that I told Mike he could go ahead and put the couch base back in one day while I was at work so I had to lay down under the bench to paint…this is the part I mentioned earlier about wanting to quit.
Another downside to using oil-based paint is that it takes 4 to 6 hours to dry. Because of the unpredictable Georgia weather, it was overnight for this paint. I decided to wait 24 hours between each coat just to make sure it was good. Some people recommend sanding between coats. I did not, and the paint has stuck.
We decided to remake the doors for the cabinets we did keep because when I went to paint them, the paint soaked in on the outside edges of the doors so bad that I had to stop. Mike took some of the leftover wood and made the doors look like shiplap. He used 3/8 plywood and ripped a line that was 1/8″ deep every 4 1/8″ of an inch across.
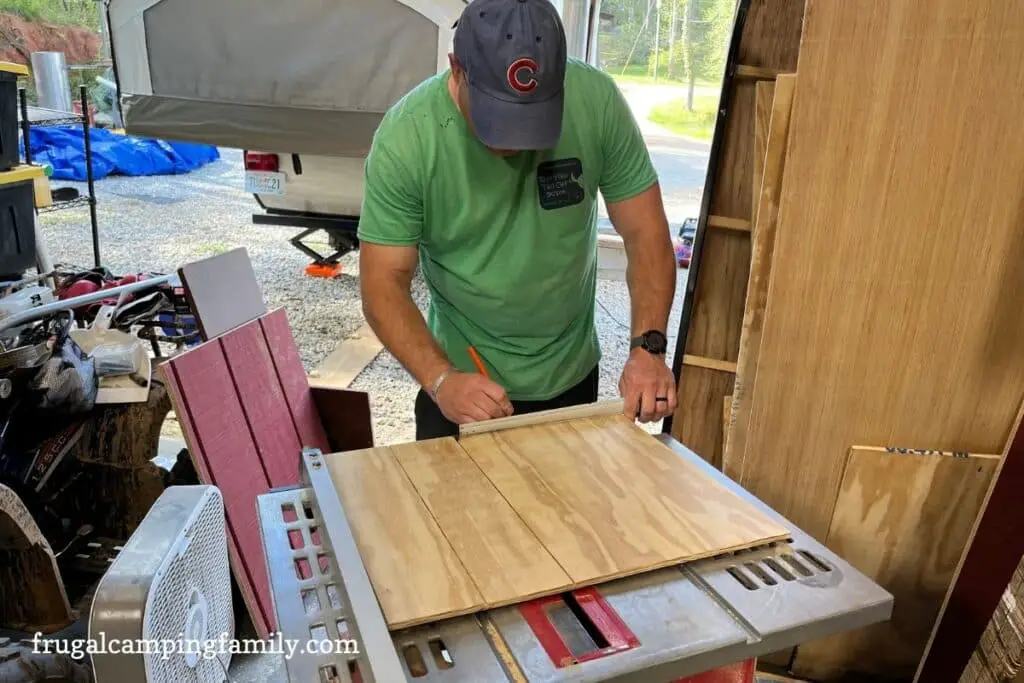

Adding the 1/8″ (4 1/8 spacing) of an inch to every rip accounted for the blade and kept the line 4” apart. Evenly spaced since the door is just over 20” tall.
I decided to stain all the wood instead of painting because I love the contrast between the white and stained wood. It also looks really good against the floors I picked out.
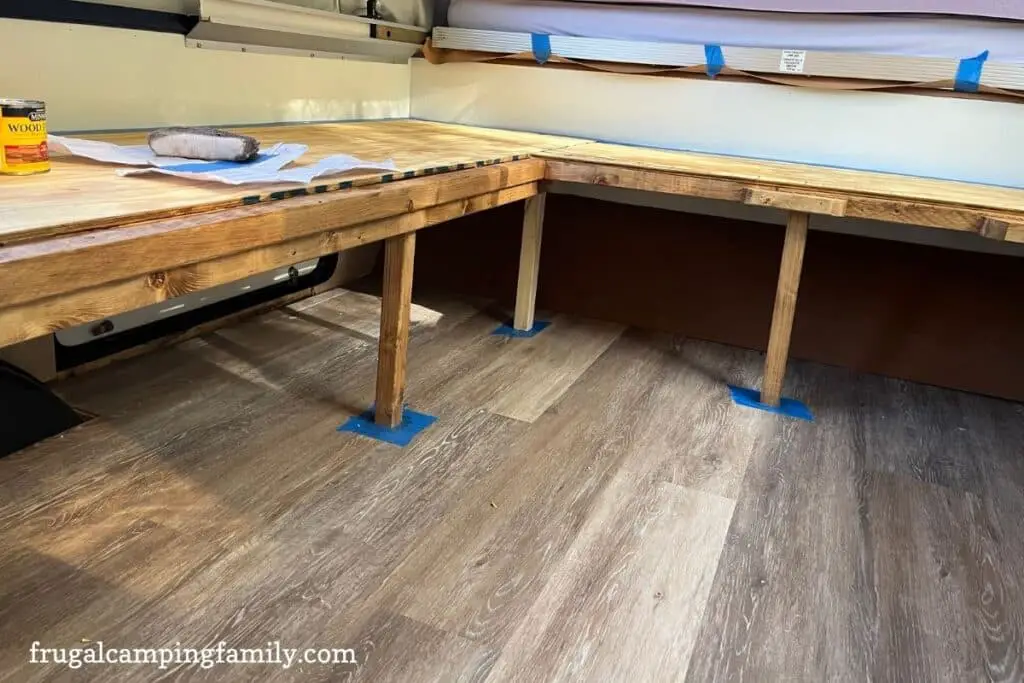

In the picture above, Mike made a lip on the backside to catch the table when everything is laid down. He reused his extension arm that pulls out on the right side and it catches the lip of the couch on the left side.
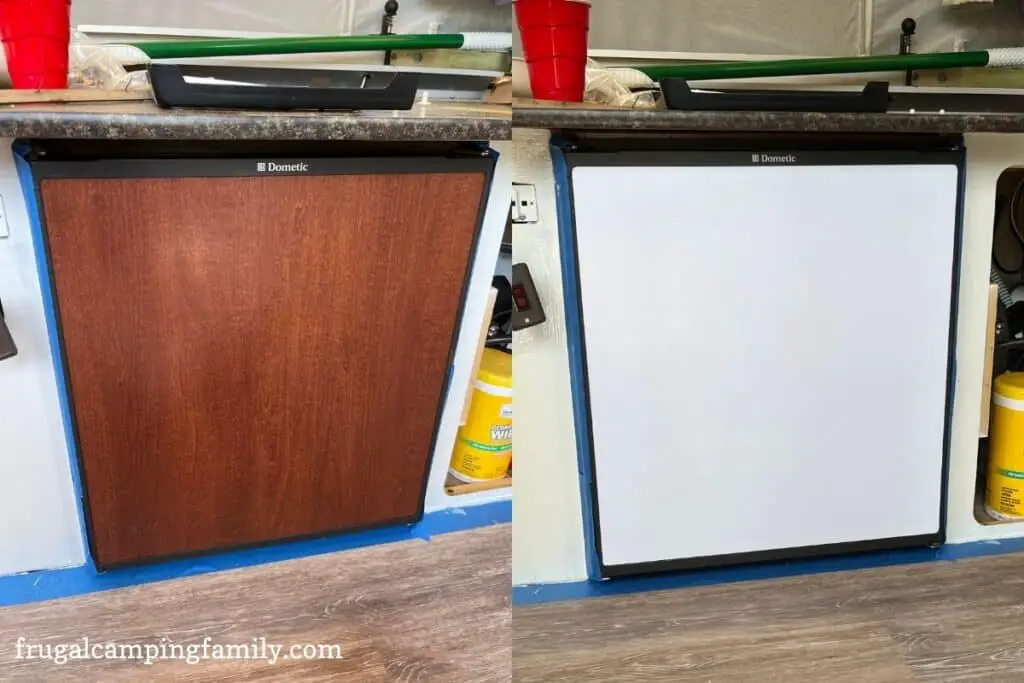
I’m not ready to take the fridge out just yet but we don’t use it so we turned the power off to it, I cleaned the inside out and it’s now my closet, lol. I decided not to paint it, so instead, I used white contact paper to cover it. It took two layers to get it to look good and I’m going to add stickers from the Instagram group we are a part of called the @rvstickerclub. You trade stickers with other campers! It’s super fun, and anyone can join.
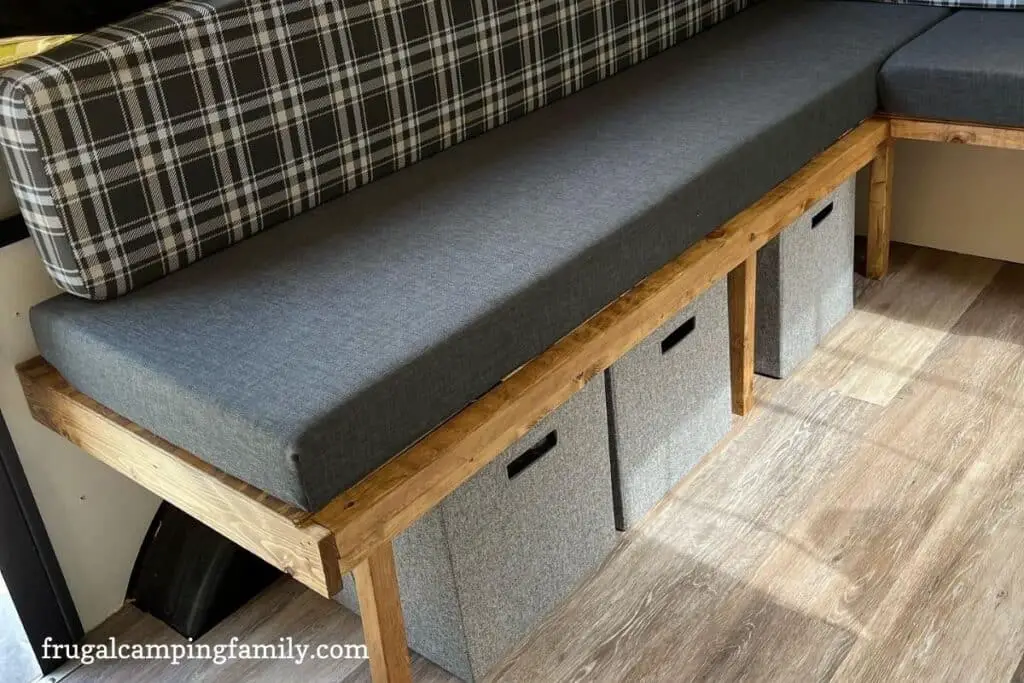
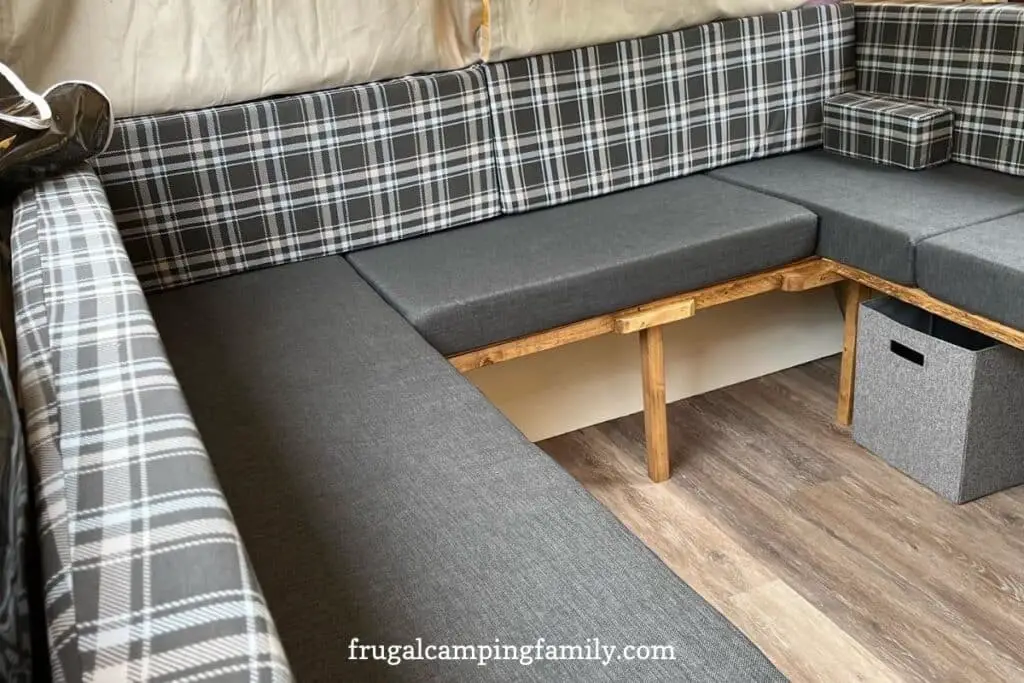
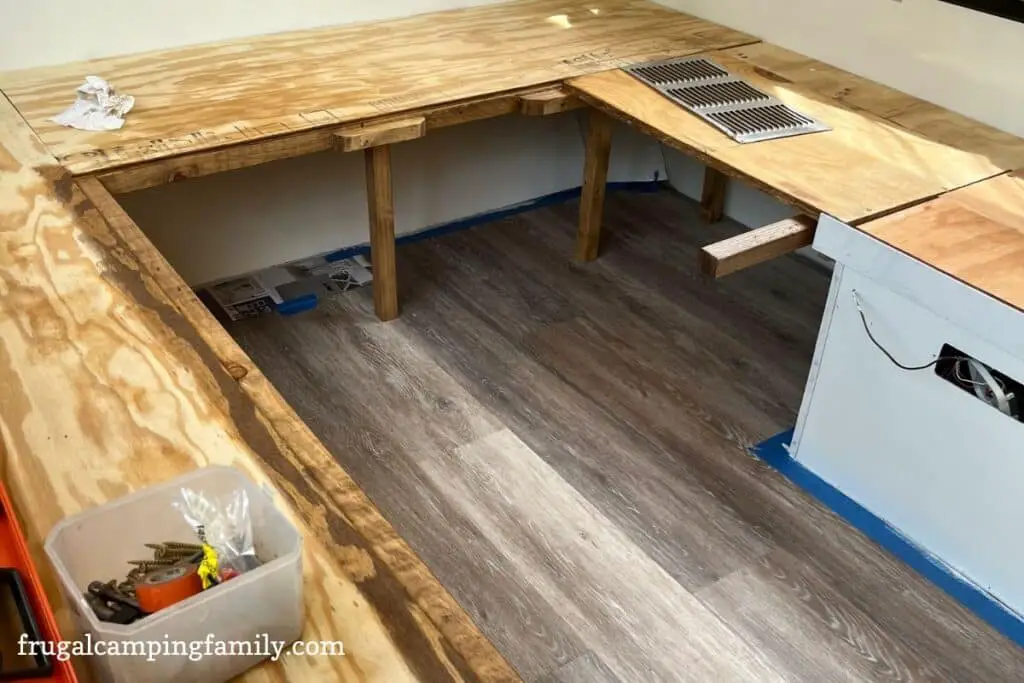
The pictures above are the finished product! I’m so proud and super excited about how it turned out. It’s amazing how much extra storage we have by going with the open-concept design under the sofa. This allows us to access all the space! Before, you had to either open a cabinet door or lift a cushion and wood panel to get to the storage.
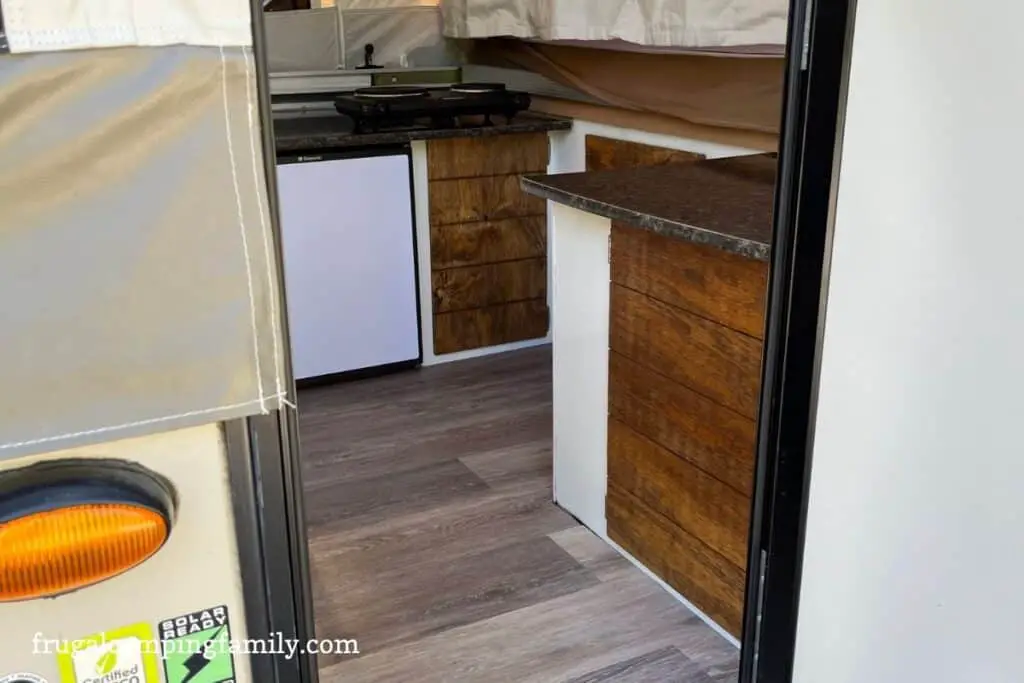

I’m also in love with the new doors Mike made. we decided to stain them so they would match the other wood and pop off the white walls and cabinets. I haven’t decided if I want to add door pulls or just leave them blank. We are kind of loving it the way it is, so for now, we will leave it. The only thing left is to add stained quarter-round to the floor. You can check our Instagram @frugalcampingfamily for when I post a final picture.
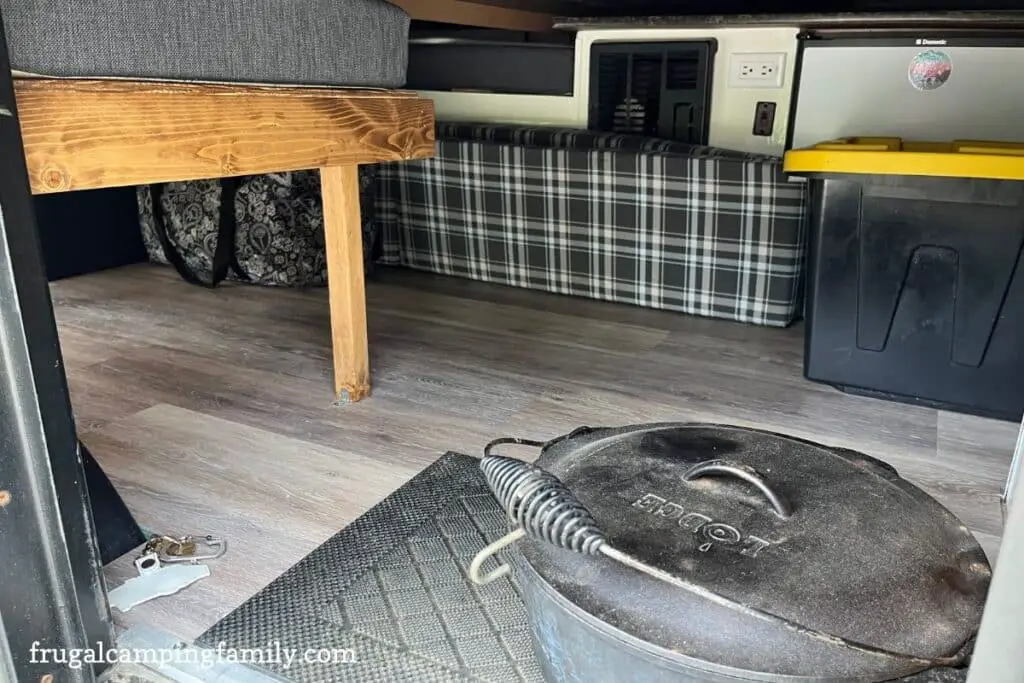
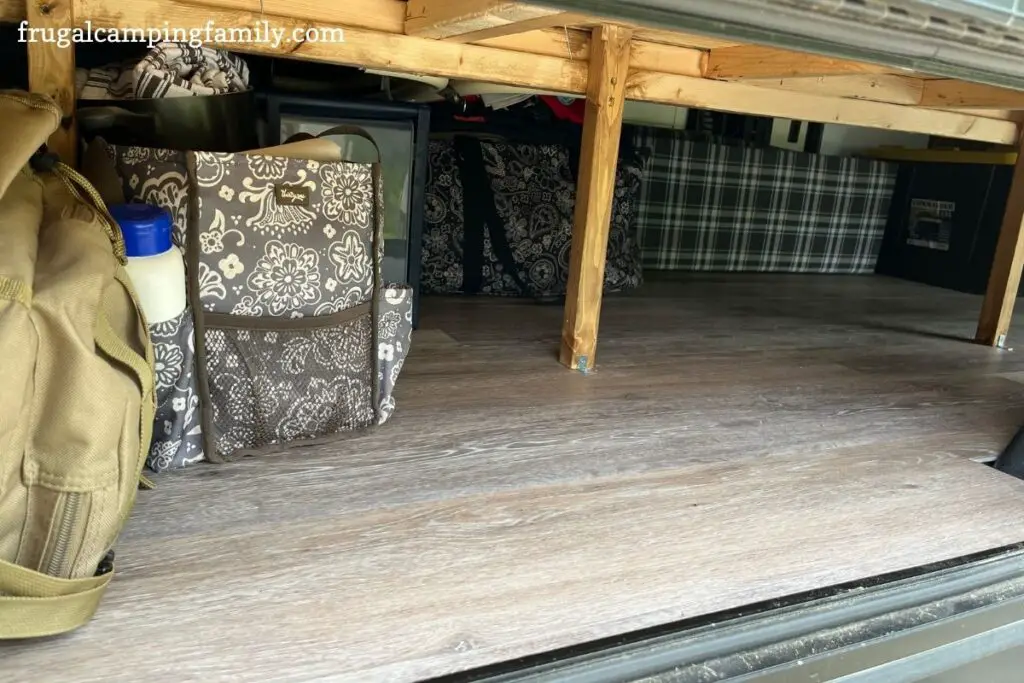
I wanted more storage, and I got it! The two pictures above are of the camper full of our things, ready to go on a trip this weekend. I wanted to show how much extra room we have now to pack more stuff if we wanted to. Before, it would have been full because of the awkward layout of the cabinets.
I’m so glad we did this, even though it took floor rot to get to this point. We spent around $500 total, and I think you really can’t beat that, especially because I splurged a bit on the floors. If you want to see more camper posts, follow us on Instagram @frugalcampingfamily or see us on Pinterest.
If you are on the fence about getting a popup camper see the reasons why a popup camper might not be for you.